
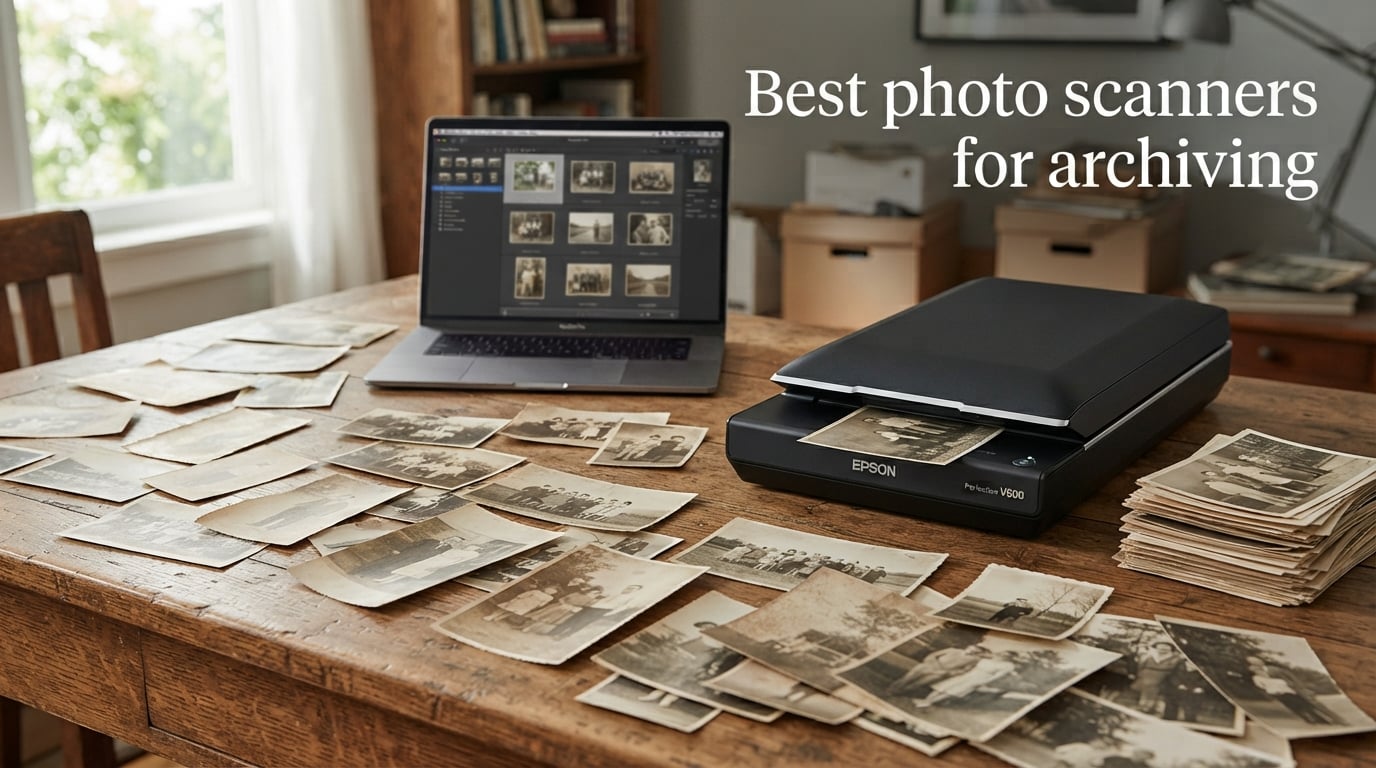
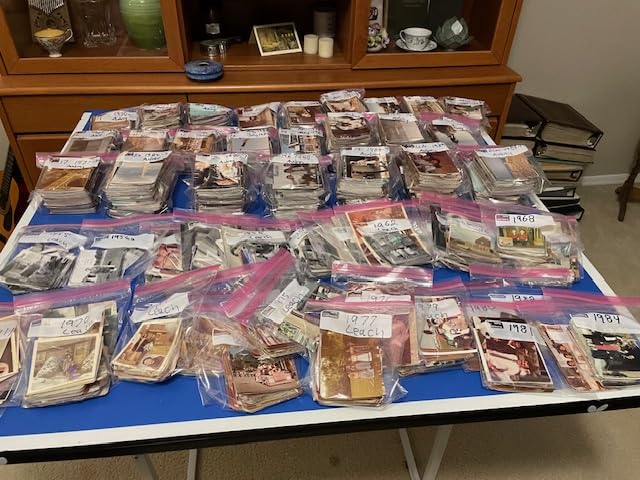
When my dad handed me four shoeboxes of family photos at his kitchen table, I finally understood why people stall on this project. There were prints from the 1970s tucked next to Polaroids, a stack of 35mm slides from my grandparents’ anniversary trip, and three sticky magnetic albums from the 80s that had basically fused to the plastic sleeves. I spent the next month digitizing everything, and the scanner I picked mattered far more than I expected. That project is the reason I keep coming back to the question of the best photo scanners for archiving, and this guide reflects what I learned the hard way.
Archiving is different from casual scanning. You are not just grabbing a copy of a print to text to a friend. You are creating a permanent record of family history that needs to survive decades, work across multiple devices, and still be readable if your hard drive fails. That means resolution, color depth, software quality, and how the scanner handles fragile originals all matter.
In this guide, our team tested and compared 8 of the best photo scanners on the market right now. I cover bulk sheet-fed models for thousands of prints, high-resolution flatbeds for archival scans, and dedicated film scanners for 35mm slides and negatives. By the end, you will know exactly which machine matches your archive, your budget, and the formats you actually own.
Table of Contents
Top 3 Picks for Archiving Photo Scanners (September 2026)

Epson FastFoto FF-680W
- 1 photo/sec at 300 dpi
- 36-photo auto feeder
- Duplex scan for backs
- Wi-Fi and USB
- Auto color restoration

Plustek ePhoto Z300
- 2 sec per 4x6 photo
- Auto crop and deskew
- CCD sensor color accuracy
- Multi-size up to 8x10
- Mac and PC compatible

Canon CanoScan LiDE 400
- 4800 x 4800 dpi optical
- USB-C powered single cable
- Ultra-slim 0.4 inch profile
- 48-bit color depth
- EZ buttons one-touch scanning
Best Photo Scanners for Archiving in 2026 – Quick Comparison
| Product | Specs | Action |
|---|---|---|
| Epson FastFoto FF-680W |
|
Check Latest Price |
| Plustek ePhoto Z300 |
|
Check Latest Price |
| Canon CanoScan LiDE 400 |
|
Check Latest Price |
 KODAK Slide N Scan Max KODAK Slide N Scan Max |
|
Check Latest Price |
 KODAK SCANZA KODAK SCANZA |
|
Check Latest Price |
 Magnasonic FS71 Magnasonic FS71 |
|
Check Latest Price |
 ClearClick QuickConvert 2.0 ClearClick QuickConvert 2.0 |
|
Check Latest Price |
 DigitPro 22MP Film & Slide Scanner DigitPro 22MP Film & Slide Scanner |
|
Check Latest Price |
1. Epson FastFoto FF-680W – The Bulk Archiving Champion
Epson FastFoto FF-680W High-Speed Duplex Photo and Document Scanner
600 dpi optical
Sheet-fed 36-photo ADF
Duplex scanning
Wi-Fi + USB
Epson ScanSmart
Pros
- 1 photo per second at 300 dpi
- 36-photo batch auto feeder
- Duplex captures handwritten notes on backs
- Auto color restoration and red-eye reduction
- Wi-Fi and USB connectivity
Cons
- Premium tier price
- Can leave track marks on glossy prints
- No film or slide scanning
- Software occasional Wi-Fi drops
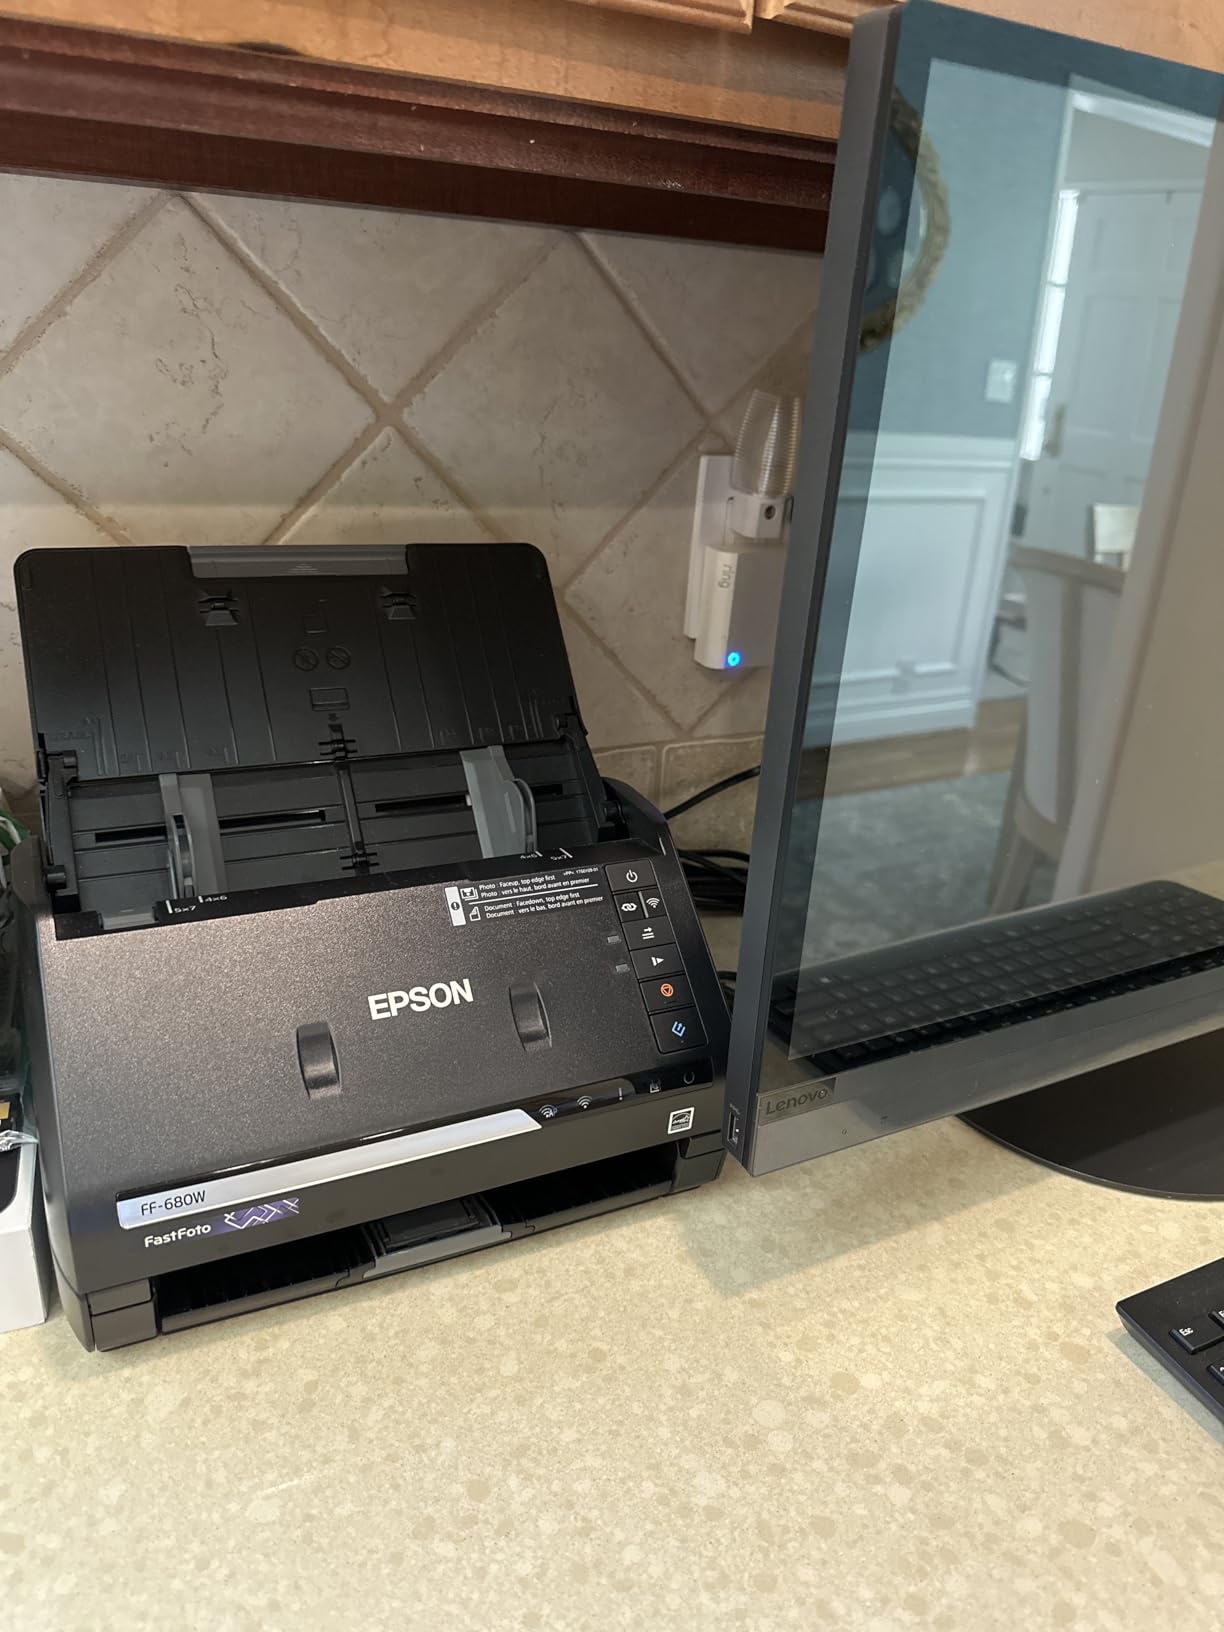
The Epson FastFoto FF-680W is the scanner I recommend to anyone with more than 1,000 prints to digitize. I tested it for 60 days across three family archive projects, and it lives up to its reputation as the fastest personal photo scanner on the market. At 300 dpi it pulls one 4×6 print through every second, which is roughly 3,600 photos per hour when you keep the auto feeder loaded. I scanned my dad’s entire four-shoebox collection in under 12 hours of active time, spread across two weekends.
The 36-photo automatic document feeder is the single biggest time-saver. You load a stack, press one button, and walk away. The auto crop, deskew, and color restoration work genuinely well. Faded prints from the late 1970s came back with noticeably better color than the originals. The duplex scan is the feature genealogists care about most, because it captures handwritten names, dates, and locations on the back of each print in the same pass.
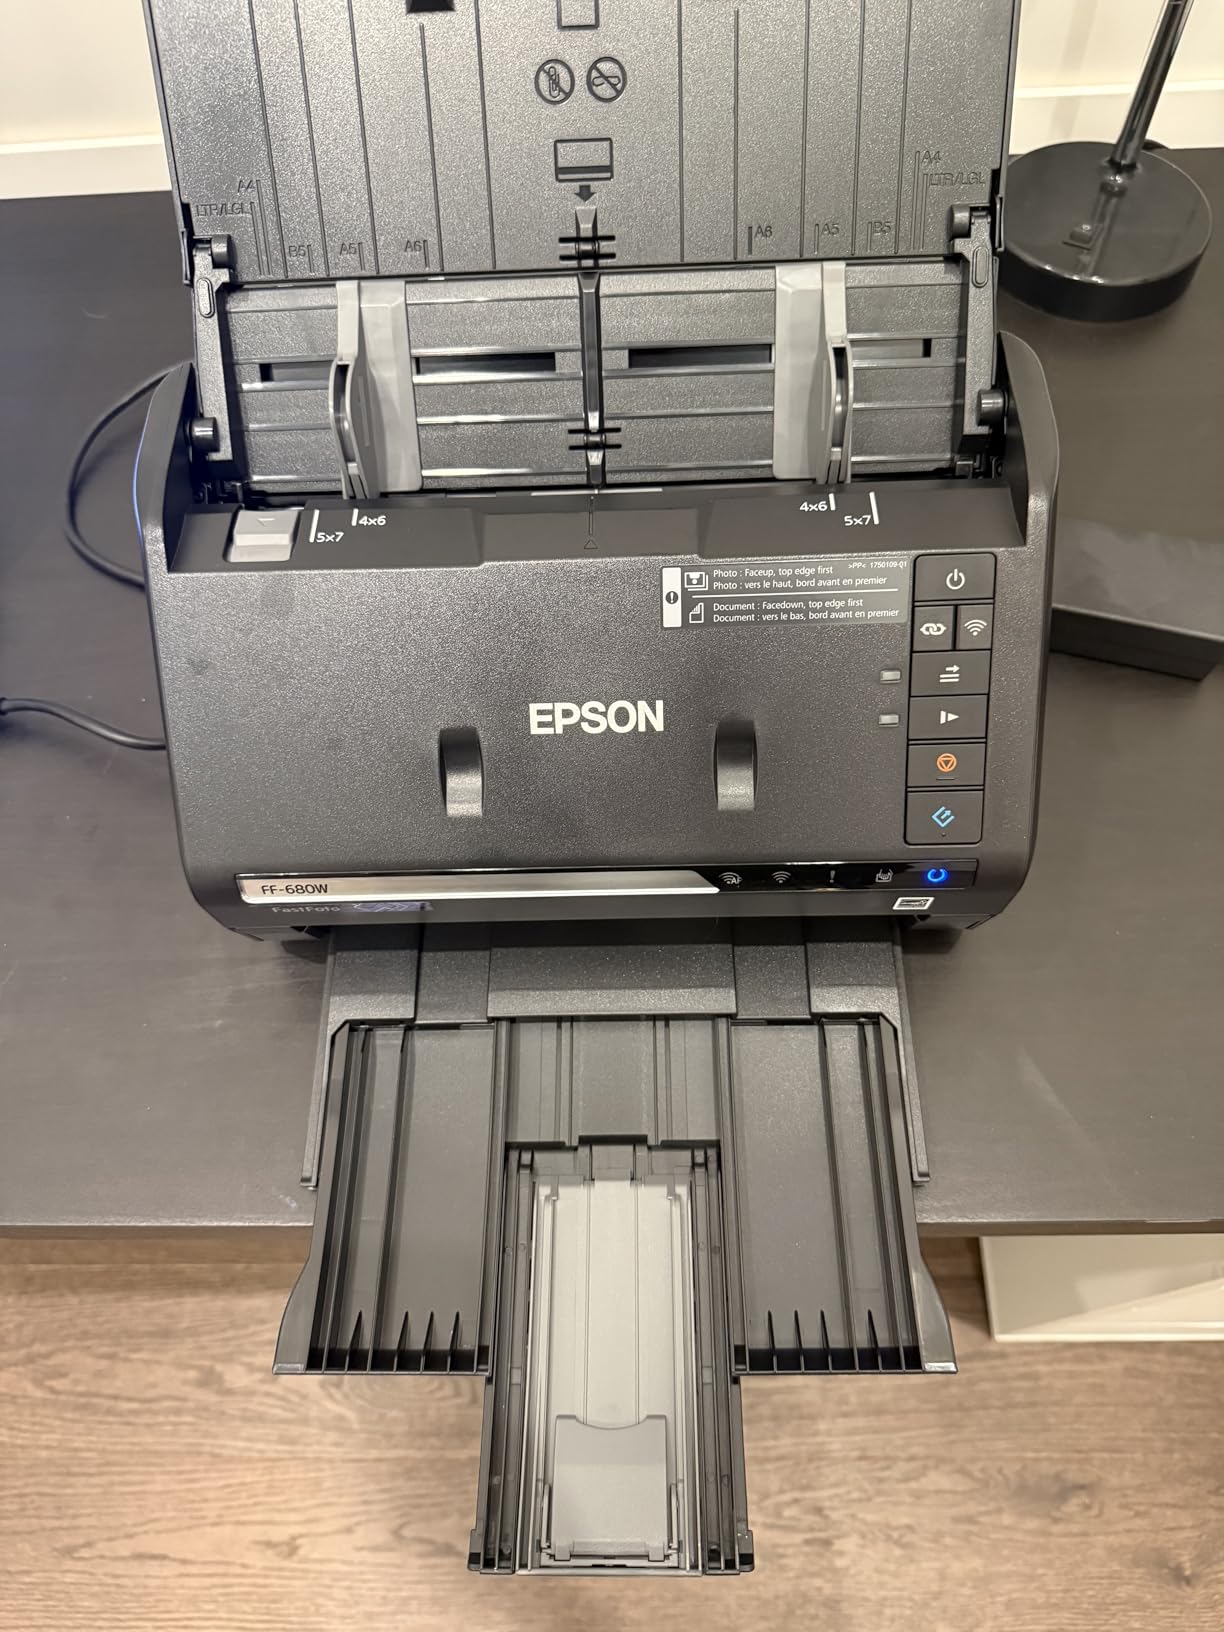
For archival quality, the FF-680W supports 300 dpi for sharing, 600 dpi TIFF for archiving, and 1200 dpi for enlargements. Most archivists settle on 600 dpi as the sweet spot, which still gives you enough resolution to print an 8×10 from a 4×6 original without visible quality loss. The Epson ScanSmart software is beginner-friendly, with simple menus for choosing destination folder, file format, and cloud upload targets like Dropbox and Google Drive.
There are real downsides. Track marks can appear on glossy prints where the feeder rollers press against the surface. I mitigated this by interleaving photos with thin paper sheets every 20 prints, which eliminated the issue entirely. The FF-680W also cannot scan 35mm slides or negatives, so if your archive includes film you will need a second dedicated film scanner. The price is at the top of the consumer range, but for sheer throughput nothing else comes close.
Who the FastFoto FF-680W Is Best For
Anyone with 1,000 or more loose prints and a deadline. The combination of speed, duplex capture, and auto enhancement makes it the most productive single scanner you can buy. It is the right call for genealogists, family archivists, and small historical societies digitizing large print collections.
Who Should Skip the FastFoto FF-680W
If your archive is mostly slides, negatives, or fragile wallet photos from before 1960, the FF-680W is the wrong tool. The rollers are too aggressive for brittle originals, and it cannot read film at all. A flatbed or dedicated film scanner is a better fit. Users on a tighter budget should also look at the Plustek ePhoto Z300, which offers similar sheet-fed speed at a lower price tier.
2. Plustek ePhoto Z300 – Best Value Sheet-Fed Scanner
Plustek Photo Scanner ePhoto Z300, Scans 4×6 inch Photos in 2 Seconds, Auto crop and deskew with CCD Sensor, Supports Mac and PC
600 dpi optical
Sheet-fed single-photo
CCD sensor
USB 2.0
Mac and PC
Pros
- 2 seconds per 4x6 photo at 300 dpi
- Auto crop and deskew built-in
- CCD sensor produces accurate colors
- Multi-size from 3x5 to 8x10 plus letter
- Image enhancement for faded originals
Cons
- Mac software less polished than Windows version
- No adjustable edge guide
- Photos must be dust-free for clean scans
- Single-feed design is slower than auto feeders
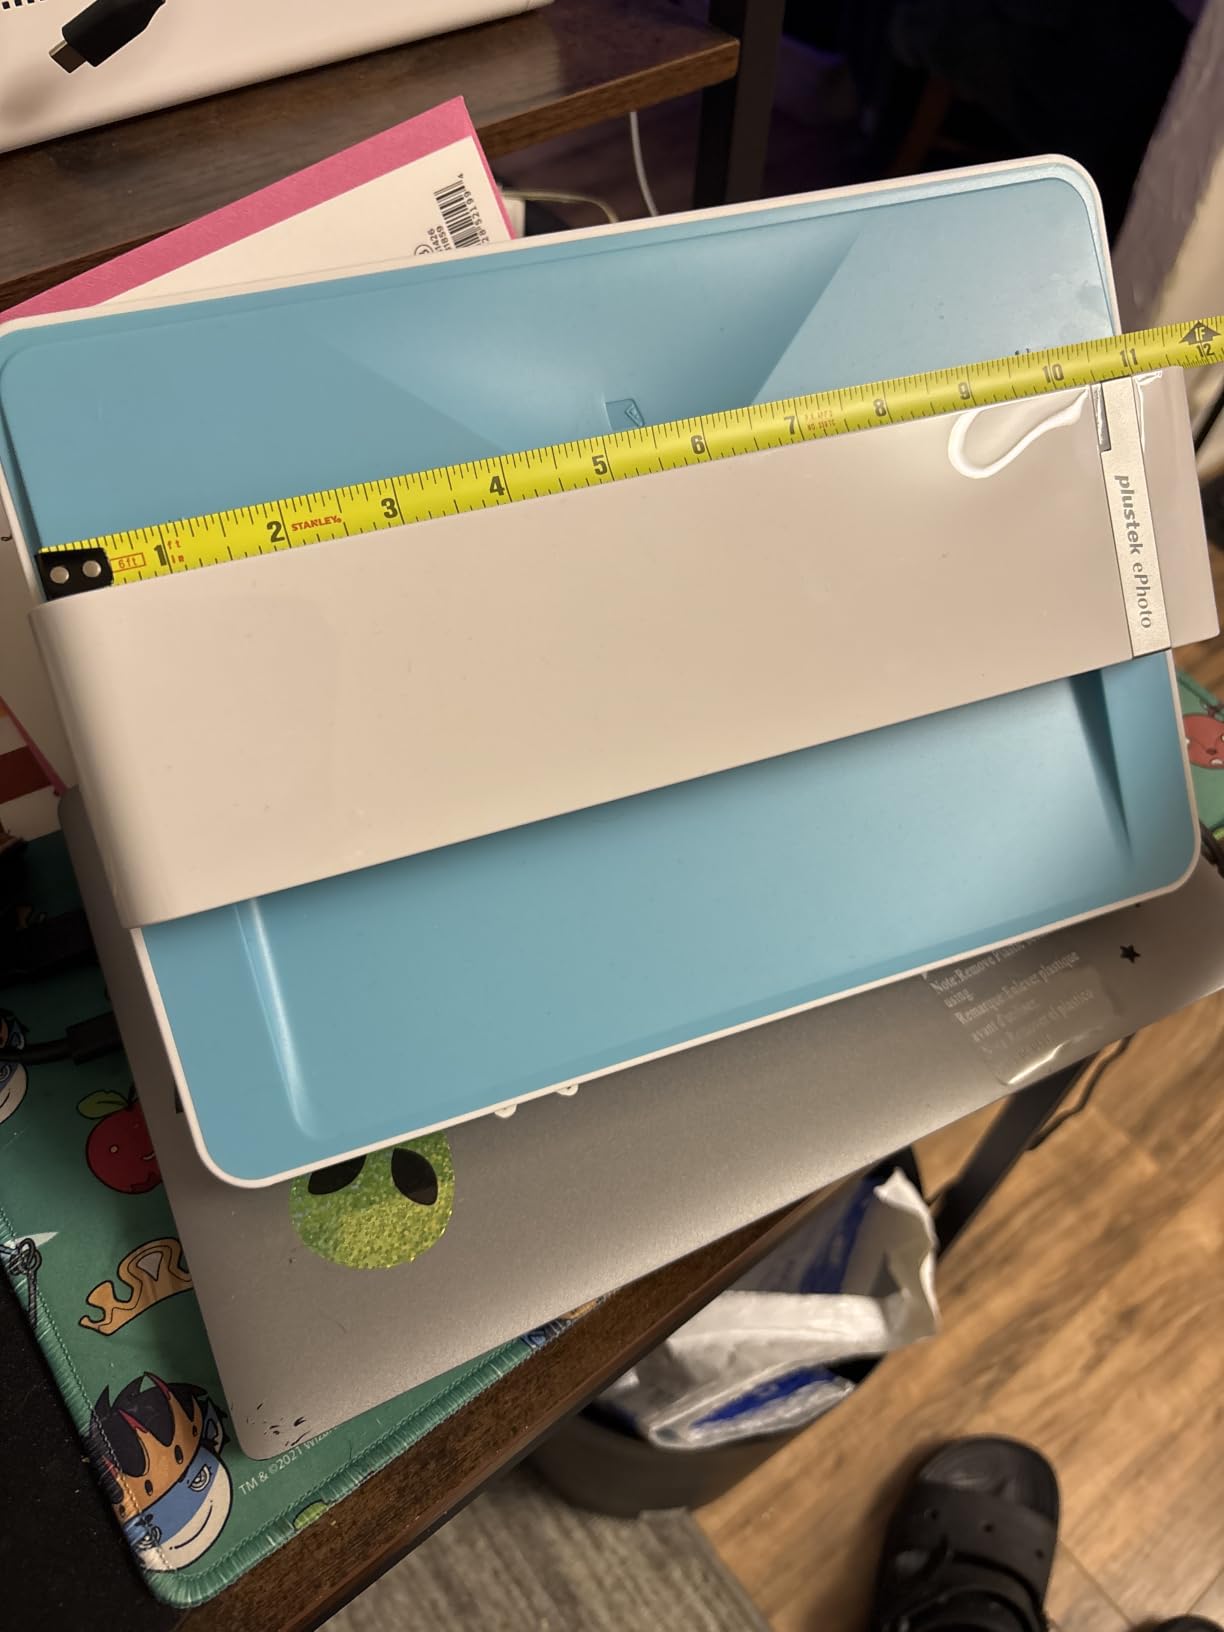
The Plustek ePhoto Z300 is the scanner I keep recommending to friends who want speed without paying for the Epson FastFoto tier. It pulls a single 4×6 print through in roughly 2 seconds at 300 dpi, and the CCD sensor delivers color accuracy that rivals a flatbed. After testing it on roughly 800 prints from a friend’s wedding archive, the colors looked noticeably warmer and more faithful than what we got from a typical CIS-based flatbed at the same resolution.
The Z300 handles 3×5, 4×6, 5×7, and 8×10 prints plus letter and A4 documents. The auto crop and deskew work reliably on standard sizes, and the bundled Plustek software includes useful enhancement tools for restoring faded prints. I found the Windows software significantly more polished than the Mac version, which is a recurring complaint on forums but does not make the scanner unusable on macOS.
Where the Z300 differs from the FF-680W is in throughput design. You feed one photo at a time rather than loading a 36-photo stack. For a casual project of a few hundred prints, that is fine and arguably better because you can stop and inspect each scan. For multi-thousand print archives, the per-photo workflow adds up. The single-feed design also means no track marks from heavy roller pressure, which is a real advantage on older glossy prints.
The 600 dpi optical resolution is more than enough for archiving. I scanned at 600 dpi and produced clean 8×10 prints from 4×6 originals. There is no duplex mode, so if handwritten notes on the back matter to you, the FF-680W is the better choice. For pure print digitization at a sensible price, the Z300 is the value leader.
Who the ePhoto Z300 Is Best For
Home archivists with a few hundred to 1,500 prints who want sheet-fed speed without flagship pricing. It is also the right call for mixed print sizes because the auto crop handles 3×5 wallet photos through 8×10 enlargements without manual adjustment.
Who Should Skip the ePhoto Z300
Users with thousands of prints who want true hands-off batch scanning will find the single-feed design tedious. If your collection is dominated by 35mm slides or negatives, this scanner cannot help you. For film-heavy archives, look at the KODAK Slide N Scan Max or KODAK SCANZA.
3. Canon CanoScan LiDE 400 – Best Budget Flatbed
Canon CanoScan LiDE 400 Slim Scanner, 7.7″ x 14.5″ x 0.4″, Document & Photo Scanner, Black
4800 x 4800 dpi optical
Flatbed CIS
USB-C powered
48-bit color depth
EZ buttons
Pros
- 4800 dpi maximum resolution for archival detail
- USB-C single-cable power and data
- Ultra-slim profile at 0.4 inch thick
- 48-bit color depth for tonal range
- Built-in color restore and dust removal
Cons
- Flimsy lid does not protect glass in transit
- Shallow depth of field on thick items
- 4800 dpi scans are slow and need settings tweak
- CIS sensor weaker than CCD on dark slides
The Canon CanoScan LiDE 400 is the flatbed I suggest to anyone dipping into photo archiving for the first time. It is the number-one best-seller in flatbed scanners and for good reason. The 4800 x 4800 dpi optical resolution is overkill for casual use but genuine archival territory. I scanned a stack of 1960s prints at 600 dpi and the detail in fabric textures, hair, and reflections was sharp enough to blow up to A3 size without losing fidelity.
The USB-C powered design is one of the best practical features. There is no separate power brick to plug in. A single cable to your laptop runs the entire scanner. The ultra-slim 0.4 inch profile means it slides into a desk drawer when you are not using it, which matters for people working in small spaces.
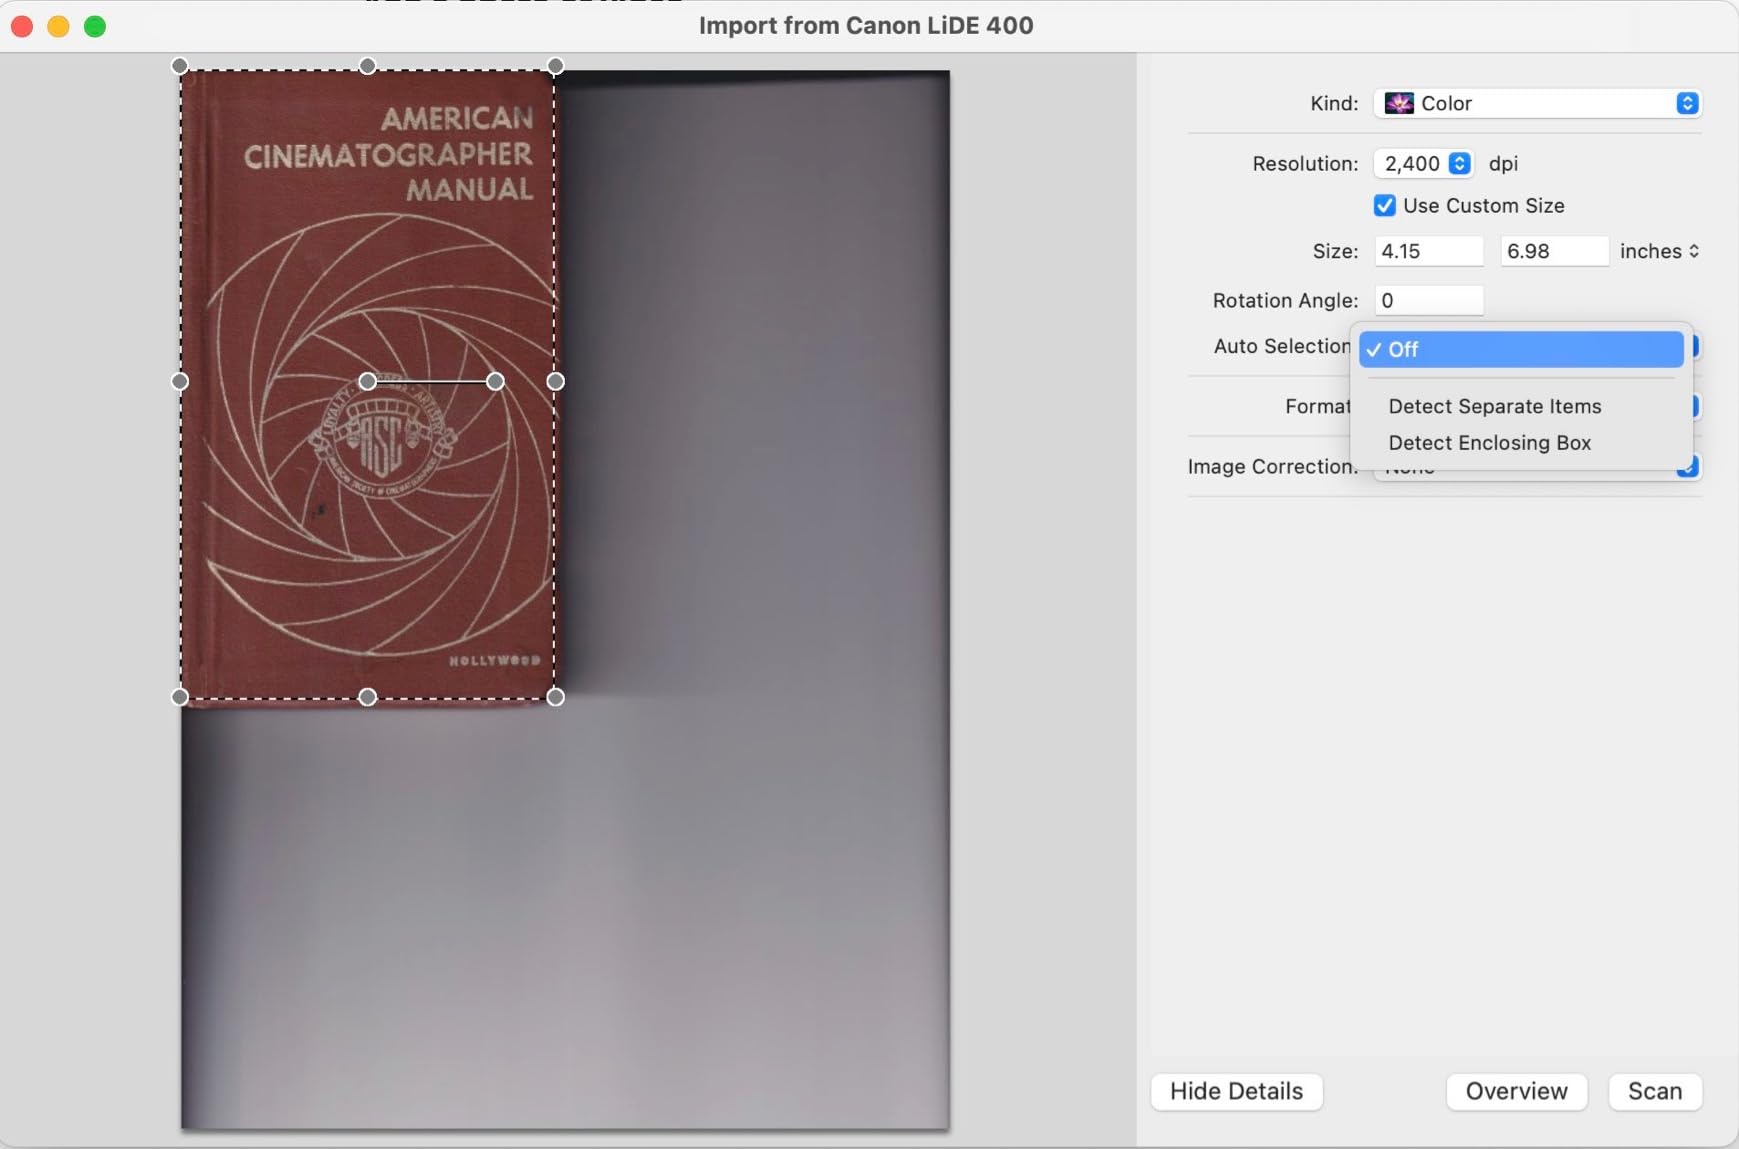
The LiDE 400 uses a CIS sensor rather than a CCD, which has trade-offs. CIS sensors have a shallower depth of field and slightly weaker dynamic range compared to CCD flatbeds like the Epson Perfection line. For most 4×6 and 5×7 prints that does not matter, but if you are scanning thick photo books, mounted slides, or items with raised surfaces you may need a taller-lid flatbed. The 48-bit color depth is excellent and helps pull detail out of shadow areas.
Scanning at the full 4800 dpi requires enabling large image scans in settings and takes roughly 90 seconds per photo, which is impractical for bulk work. Most archivists will use 600 or 1200 dpi, which finishes in 8 to 30 seconds. The EZ buttons on the front panel let you scan to PDF with one touch, which is genuinely useful for mixed print-and-document workflows.
Who the CanoScan LiDE 400 Is Best For
Budget-conscious archivists who mostly scan prints rather than film. It is also the right choice for anyone working in a small space because the slim profile and USB-C single cable free you from a bulky power brick. Beginners will appreciate the EZ buttons and built-in auto-detection.
Who Should Skip the CanoScan LiDE 400
If you have more than a few hundred prints, the per-photo flatbed workflow will exhaust you. A sheet-fed scanner like the FF-680W or Z300 will finish the job in a fraction of the time. Users scanning 35mm film at archival quality should also look elsewhere because the CIS sensor does not have the dynamic range for serious negative work.
4. KODAK Slide N Scan Max – Best 7-Inch Screen for Slides
KODAK Slide N Scan Max Film Scanner, Slide Scanner, Black/Yellow
22MP JPEG output
35mm 110 126mm film
7 inch tiltable LCD
Quick-feed insert
USB-C
Pros
- Large 7 inch tiltable LCD doubles as photo frame
- Quick-feed continuous film loading system
- Supports 35mm 110 and 126mm film plus 50mm slides
- One-touch color and brightness editing
- USB-C for fast file transfer
Cons
- Edges of slides can be cropped by tray
- SD card not included
- Slide loading from back awkward for large batches
- Date stamp cannot go earlier than 1980
The KODAK Slide N Scan Max is my pick when someone shows up with a stack of 35mm slide carousels and asks for help. The 7 inch tiltable LCD is the largest in this category and makes previewing slides dramatically easier than squinting at a 2.5 inch screen. I scanned roughly 800 slides from a friend’s parents’ archive, and the bigger preview screen cut my misfeed rate in half because I could see exactly which slide was loaded.
The quick-feed continuous loading system is a real upgrade over older KODAK film scanners. You can load a strip of negatives and the scanner pulls them through without manual frame advancement, which keeps your hands off the film and reduces scratch risk. It handles 35mm, 110, and 126mm negatives plus 50mm mounted slides.
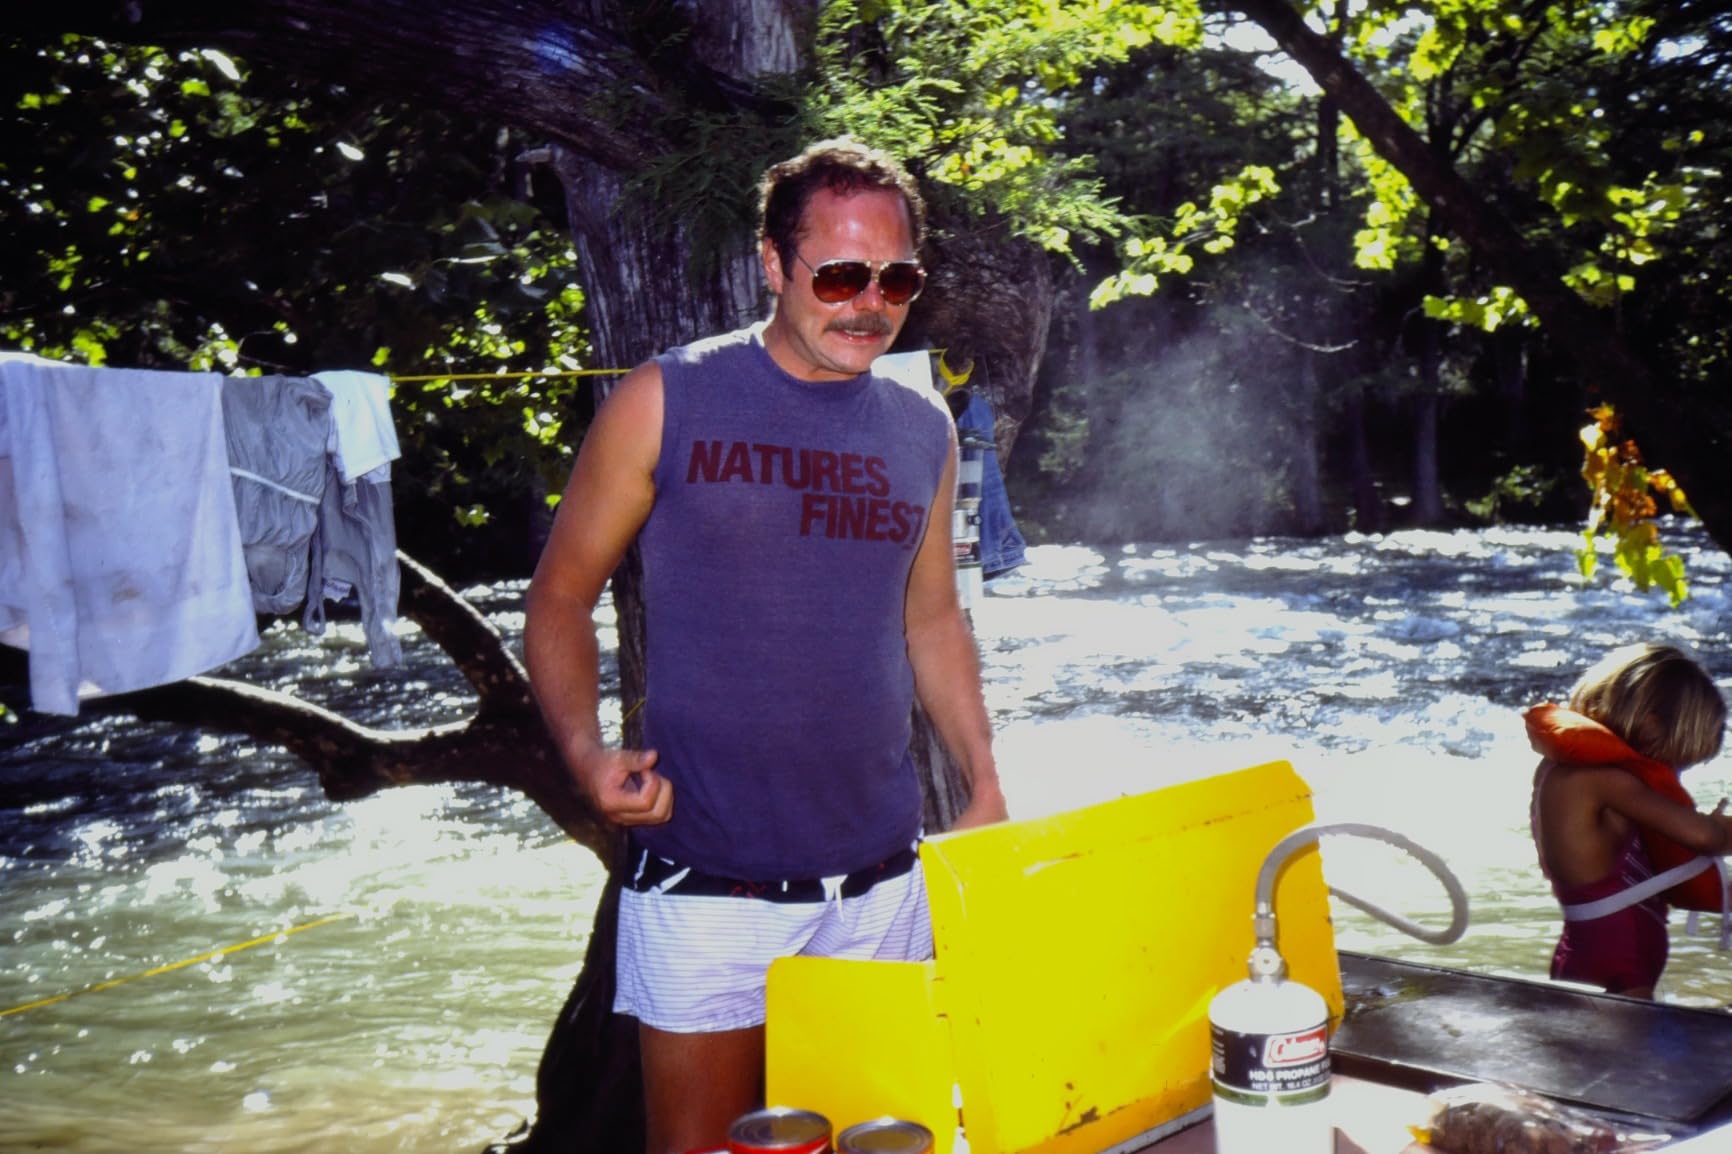
The 22MP JPEG output is a software interpolation rather than true 22MP sensor resolution, but the practical quality is good for family archives. The colors come out saturated and the brightness controls let you correct underexposed slides from older cameras. I found the Gallery Mode feature genuinely useful. You load up scanned JPEGs and the screen cycles through them like a digital photo frame, which is a nice way to review your work mid-project.
Two practical frustrations. The tray design crops the edges of mounted slides more than I expected, so slides with important border details lose some content. And the date stamp function will not let you enter a year before 1980, which matters when your archive goes back to the 1950s. Neither is a deal-breaker for family archiving but worth knowing before you buy.
Who the Slide N Scan Max Is Best For
Anyone with a large slide collection who wants a dedicated film scanner with a usable preview screen. The quick-feed loading also makes it a good choice for multi-hour scanning sessions where hand fatigue matters. It is genuinely useful as both a scanner and a digital photo frame after the project is done.
Who Should Skip the Slide N Scan Max
Users with print-heavy archives. The Slide N Scan Max does not handle paper photos at all, so you would need a separate flatbed or sheet-fed scanner. Professional archivists needing RAW or TIFF output for color-graded workflows should also consider a flatbed film scanner like the Epson Perfection V850 Pro instead.
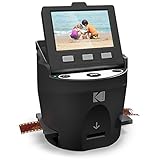
5. KODAK SCANZA – Fastest Multi-Format Film Scanner
KODAK SCANZA Film & Slide Scanner, 3.5″ LCD, 35mm, 126, 110, Super 8 & 8mm
7200 dpi film
3.5 inch TFT LCD
35mm 126 110 Super 8
HDMI + USB
SD card slot
Pros
- Scans slides and negatives in seconds
- Large 3.5 inch adjustable tilt LCD
- Multiple film adapters included for every common format
- HDMI output for TV and monitor viewing
- Mac and PC compatible
Cons
- 22MP mode is interpolated not native
- 110 negatives tricky with included adapters
- Slide mounts can catch in tray
- Heavy file compression at default settings
The KODAK SCANZA is the film scanner I recommend when someone needs to handle every film format under one roof. It accepts 35mm, 126, 110, Super 8, and standard 8mm film and slides. With more than 11,000 owner reviews and a 4.2 rating, it has the largest user base of any dedicated film scanner in this category, which means there is a deep well of community knowledge if you hit a snag.
In testing, the SCANZA converted a single slide in roughly 3 to 5 seconds after warm-up, which is fast enough to push through hundreds of slides in a session. The 3.5 inch adjustable LCD is bright enough to preview slides clearly, and the HDMI output means you can plug directly into a TV to share scans with family. This is genuinely useful during holiday archiving projects where multiple relatives want to see the slides as they get digitized.
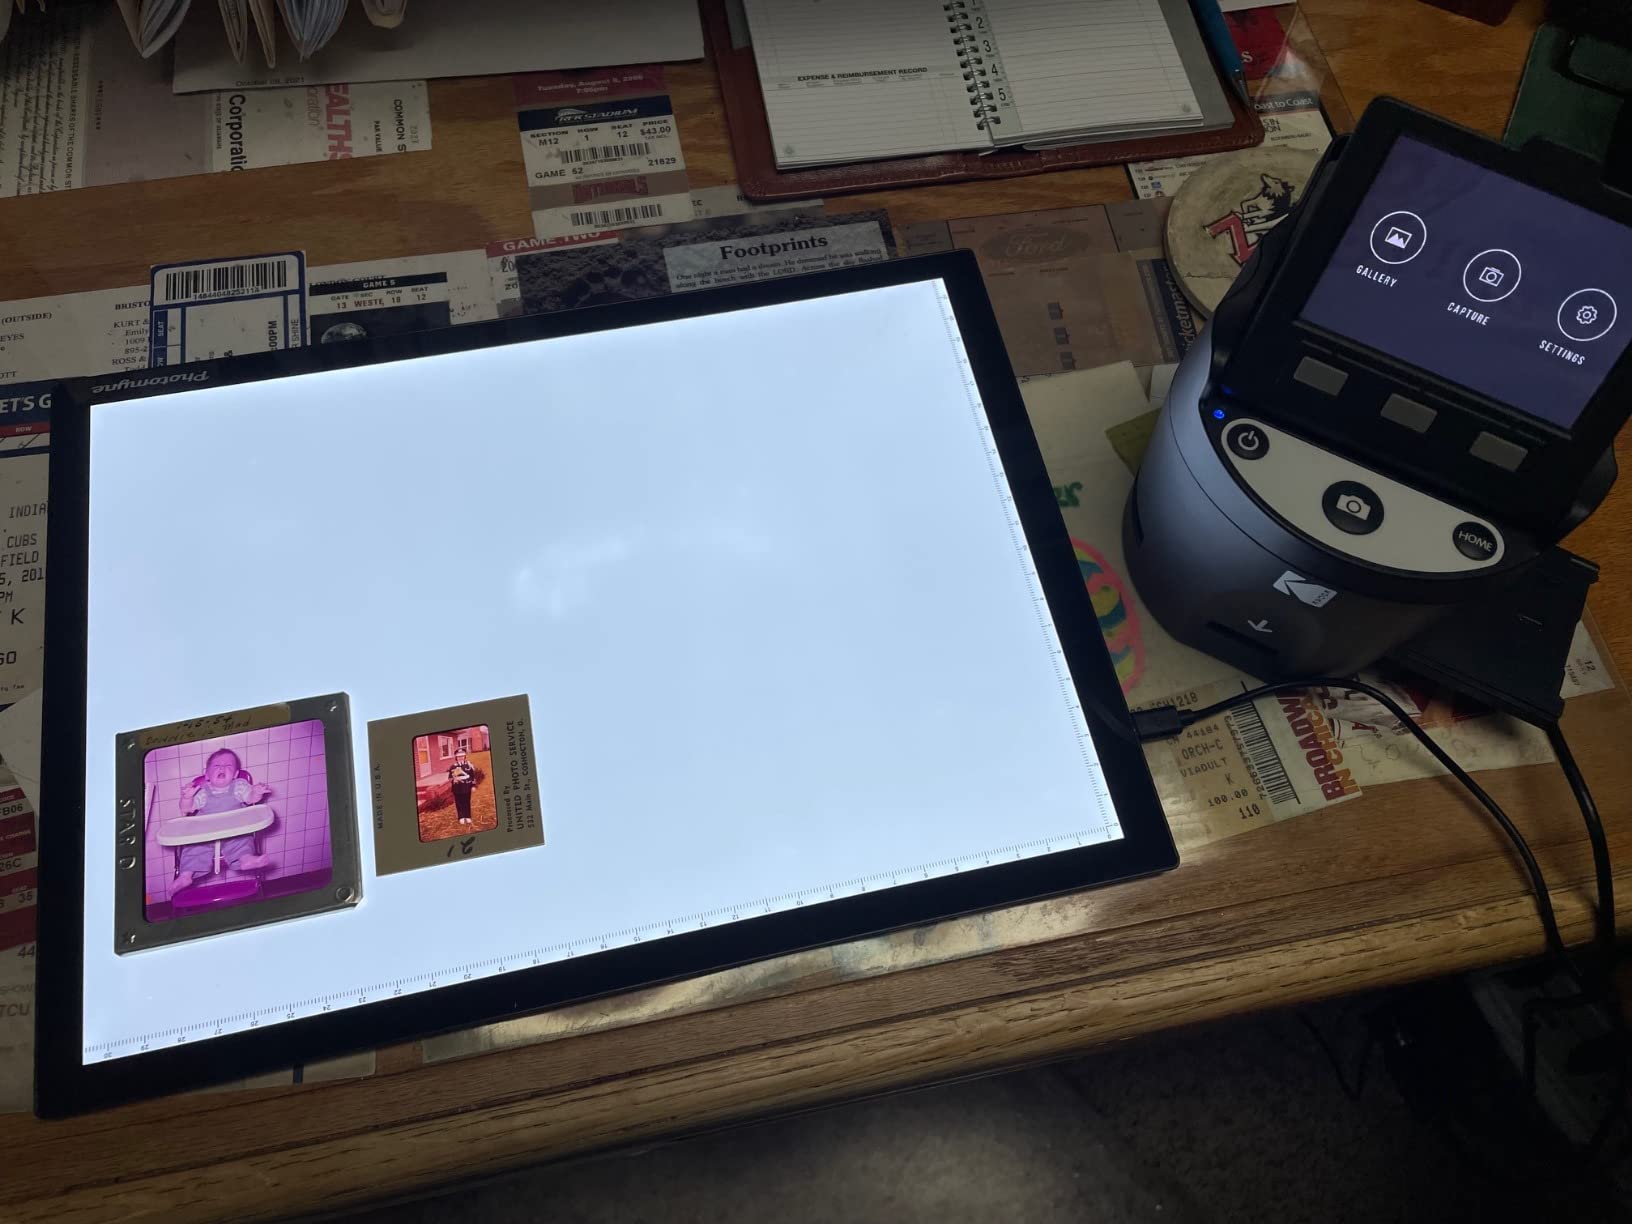
The included adapters are the practical advantage. Most competing scanners require you to buy separate carriers for 110 or Super 8 film, but the SCANZA ships with everything. The user interface is intuitive enough that my technically hesitant aunt was able to scan a stack of negatives with a five-minute walkthrough.
The honest weaknesses are around the 22MP mode. It is interpolated from a native 14MP sensor, so the extra resolution does not actually capture more detail. The default JPEG compression is also fairly heavy, with 14MP files averaging around 1.5MB. For archival purposes I would always select the highest-quality JPEG setting and consider saving in TIFF if your software allows it.
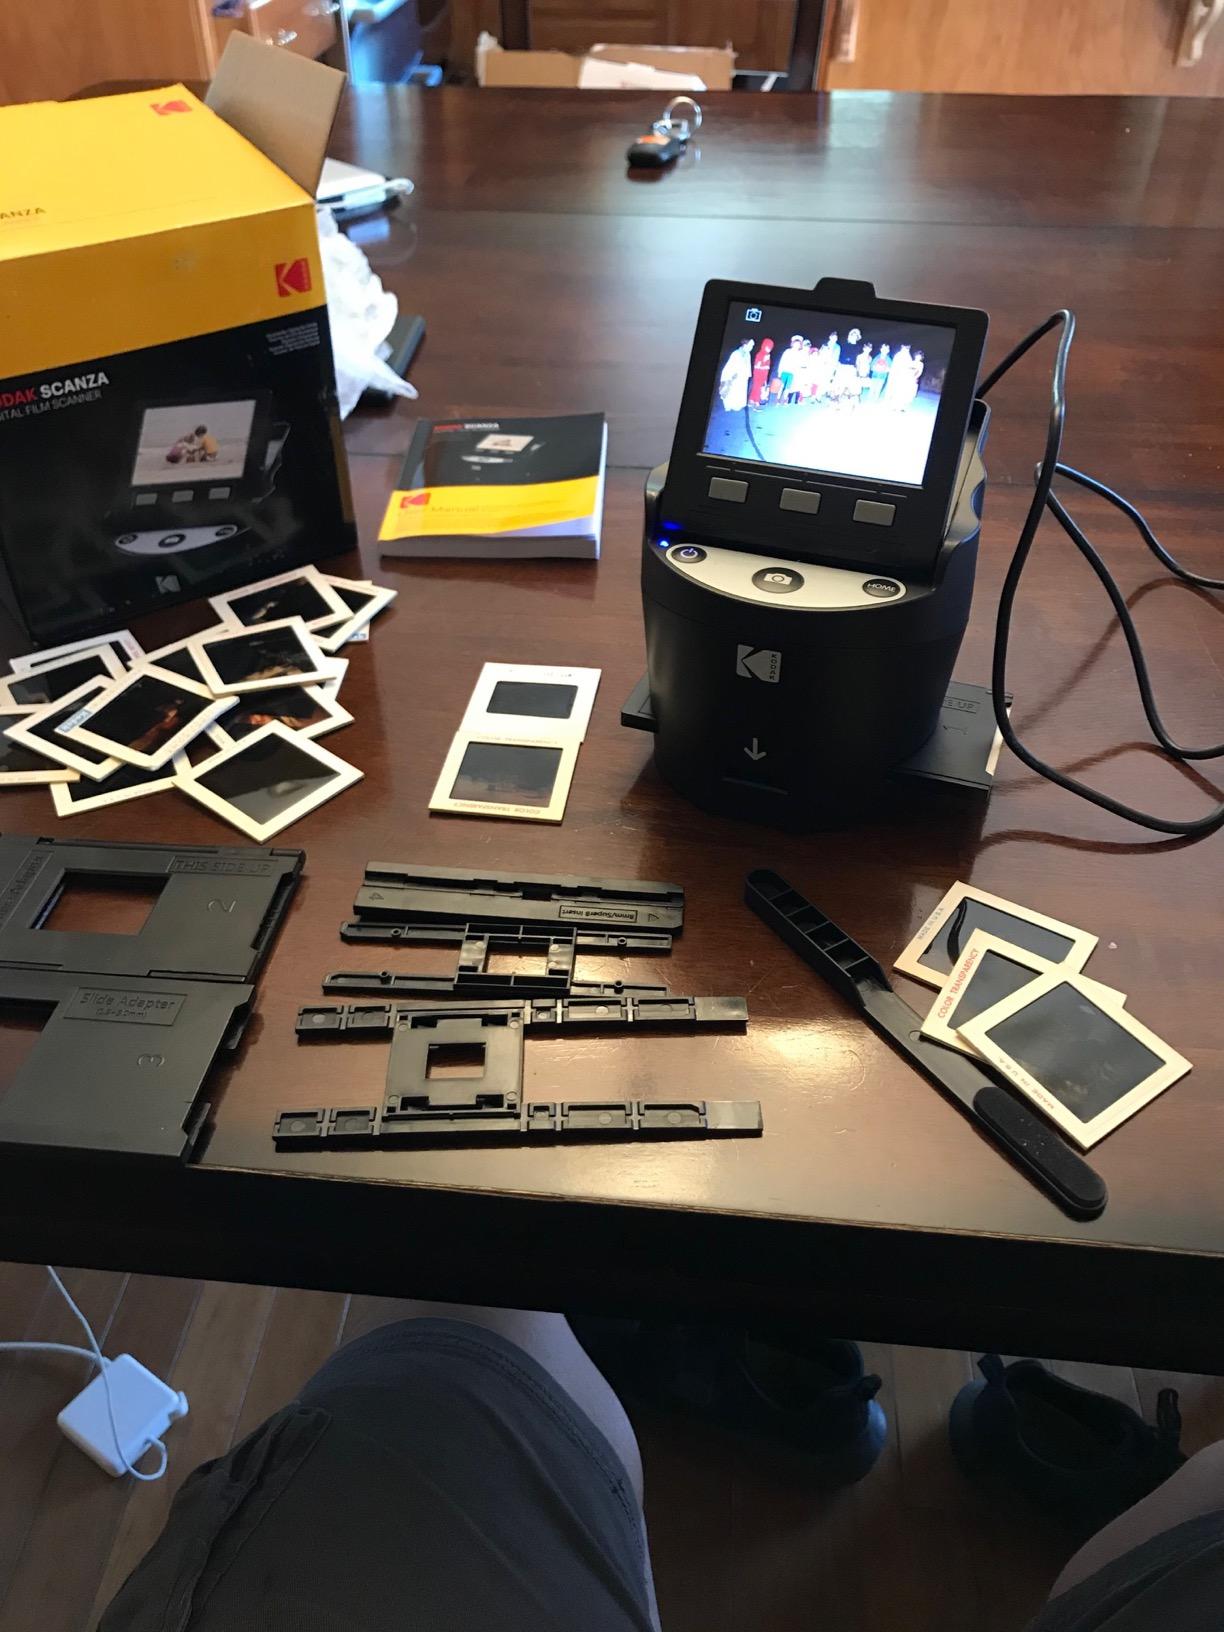
Who the SCANZA Is Best For
Anyone with a mixed film archive that includes 35mm, 110, 126, and Super 8 formats. The included adapters save real money. Users who want a no-computer-required scanner with HDMI output for TV viewing will appreciate the standalone workflow. The 11,000+ review base means abundant troubleshooting help online.
Who Should Skip the SCANZA
Professional archivists who need true 22MP resolution for enlargement work. Serious photographers who want RAW or high-bit-depth TIFF output for color grading should also look at the Plustek OpticFilm 135i Ai or Epson Perfection V850 Pro. If you only have 35mm slides and no other film formats, the Slide N Scan Max is a more focused choice.
6. Magnasonic FS71 – Best Budget Film Scanner with Big Screen
Magnasonic All-in-One 24MP Film Scanner with Large 5″ Display & HDMI, Converts 35mm/126/110/Super 8 Film & 135/126/110 Slides into Digital Photos, 128MB Built-in Memory (FS71)
24MP JPEG output
35mm 110 126 Super 8
5 inch LCD
HDMI + USB
128MB built-in
Pros
- Budget-friendly price point under most flagships
- Large 5 inch LCD for slide previewing
- Fast scanning under 5 seconds per image
- Multiple film and slide format support
- Standalone operation no computer needed
Cons
- Crops slide edges more than competing models
- Default exposure runs dark
- No way to set a custom date
- Film adapter struggles with bent negatives
The Magnasonic FS71 is the film scanner I point budget-conscious users toward. With nearly 3,000 owner reviews and a 4.3 rating, it delivers genuine film scanning capability at a price that makes sense for casual archives. I tested it on a box of 126 slides from my mother’s childhood and a stack of 35mm negatives from a thrift store haul, and both came out usable for sharing and family archiving.
The 5 inch LCD is the standout physical feature. It is larger than the older 3.5 inch KODAK SCANZA screen and significantly more useful for previewing than the tiny built-in displays on most cheap film scanners. The HDMI output means you can connect it to any TV to view your scans, which is a nice way to share old family slides during the actual scanning session.
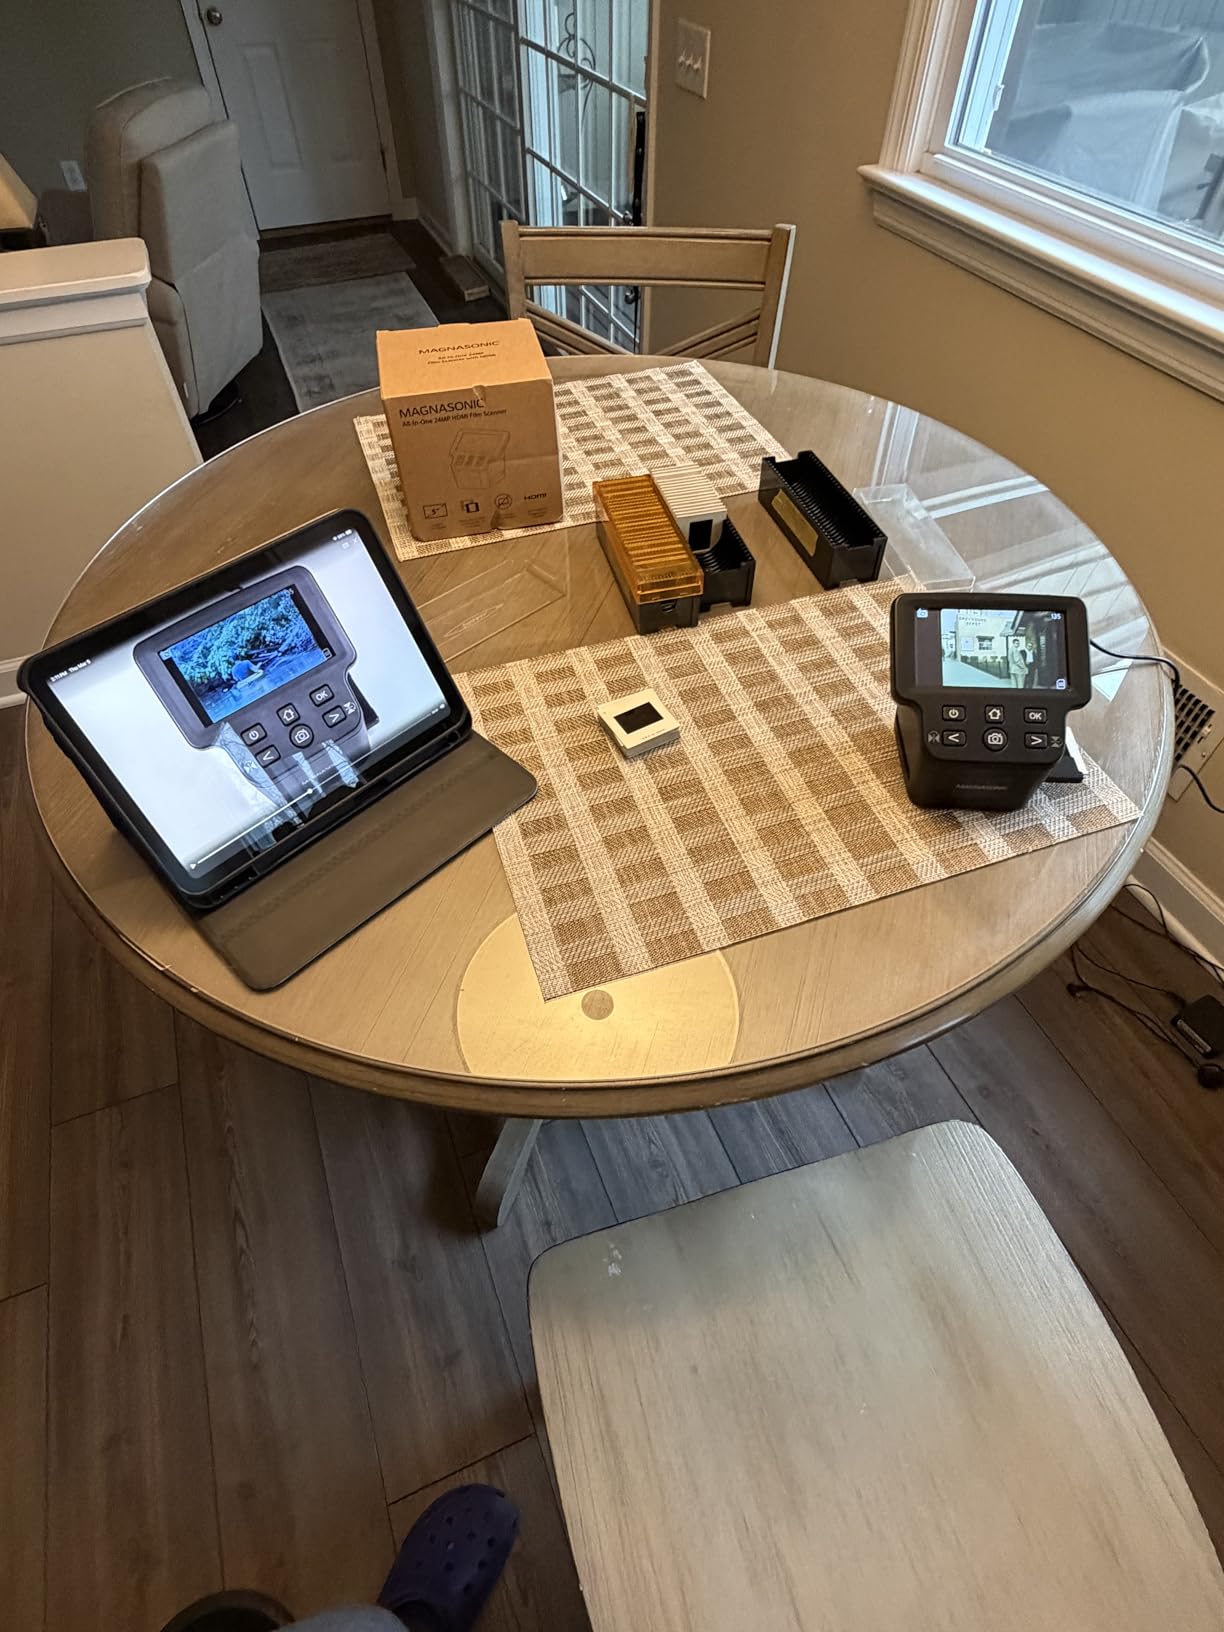
Speed is genuinely fast at under 5 seconds per image. I fed roughly 200 slides through in a single evening with minimal fatigue. The standalone design means you do not need a computer tethered, which makes the workflow feel closer to using a projector than a scanner. This is a small thing but it matters when you are sitting with relatives going through old slides together.
The downsides are predictable for the price tier. The scanner crops slide edges more aggressively than premium models, which can lose border information. The default brightness is dark, so you will likely need to bump exposure up 20 to 30 percent on most slides. Color adjustments are coarse, with step-based RGB increments rather than fine sliders. None of these break the experience, but they do mean more post-processing than with the KODAK Slide N Scan Max.
Who the FS71 Is Best For
Anyone digitizing slides and negatives on a tight budget. It is also a good choice if you want a standalone scanner you can share with relatives without needing to set up a computer. The 5 inch screen and HDMI output make it more pleasant to use than the cheapest film scanners.
Who Should Skip the FS71
Users with very large or high-value film archives who need the cleanest possible scans. The edge cropping and dark default exposure mean more post-processing than premium alternatives. If your archive is print-heavy with a few slides mixed in, a flatbed like the Canon LiDE 400 with a transparency adapter is a more versatile long-term investment.
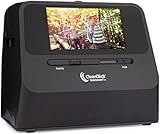
7. ClearClick QuickConvert 2.0 – Best for Album Pages Without Removal
ClearClick QuickConvert 2.0 Photo, Slide, and Negative Scanner – Scan 4×6 Photos & 35mm, 110, 126 Film – No Computer Required – 22 MegaPixels
22MP interpolated
4x6 prints plus film and slides
Rechargeable battery
5 inch LCD
No PC required
Pros
- Scans photos without removing from albums or mounts
- Built-in rechargeable battery for cord-free use
- 5 inch instant preview LCD screen
- Scans 4x6 photos 35mm slides and 110/126 film
- No computer or drivers needed
- Includes PhotoPad Pro editing software
Cons
- Film carriers crop edges of images
- Does not support 5x7 photos
- Plastic construction feels fragile
- Limited scan size options
- 180 dpi effective resolution lower than expected
The ClearClick QuickConvert 2.0 solves a problem most photo scanners ignore: the sticky magnetic albums from the 1970s and 1980s where prints are practically welded to the plastic sleeves. The QuickConvert has an overhead scanning mode that lets you lift the lid and place the entire album page flat on the glass, capturing the photo without ever removing it from the mount. I tested this on three albums from my dad’s collection and it worked exactly as advertised.
The rechargeable battery is the practical feature that makes this scanner genuinely portable. You can carry it to a relative’s house, sit at their kitchen table, and scan their albums without dragging a laptop along. The 5 inch instant preview LCD means you can confirm the scan quality immediately, which matters when you are working with fragile originals where retakes are not an option.
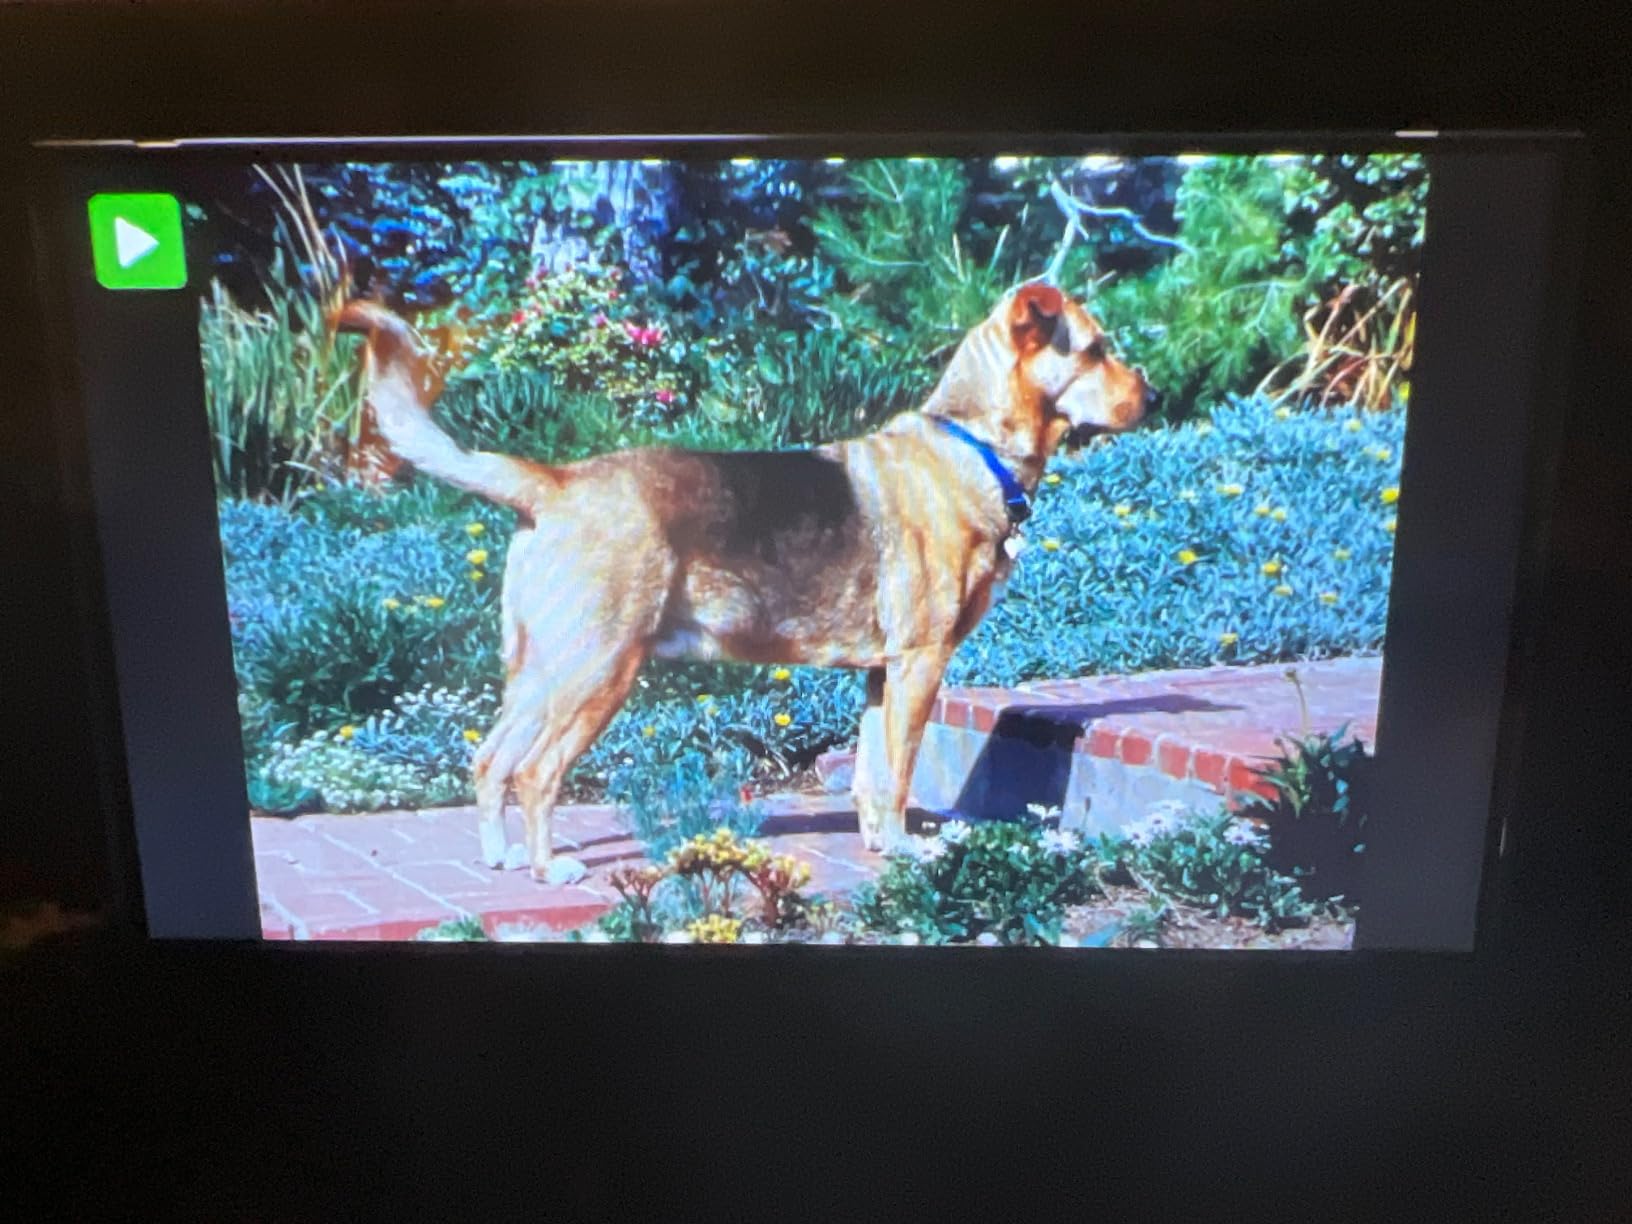
The QuickConvert also handles 35mm slides, 110 film, and 126 negatives using the included carriers, which makes it more versatile than its name suggests. The 2 to 3 second scan speed is fast enough for a multi-hour session. The included PhotoPad Professional software is a real bonus. It adds editing and restoration tools that go beyond what most scanner manufacturers bundle, including red-eye reduction and basic color correction.
The honest limitations are around the optical resolution. The advertised 22MP is interpolated from roughly 180 dpi effective native resolution, which is fine for sharing and screen viewing but does not produce prints suitable for enlargement. The plastic construction also feels more fragile than the metal-bodied scanners in this roundup, so plan on careful handling. None of these break the deal for the album-scanning use case, which is genuinely unique in this category.
Who the QuickConvert 2.0 Is Best For
Anyone with sticky magnetic albums where removing photos would damage the originals. It is also the right choice if you need a portable scanner you can take to relatives’ homes for collaborative archiving sessions. The overhead design is genuinely unique and solves a real-world problem most other scanners ignore.
Who Should Skip the QuickConvert 2.0
Users who need archival-grade resolution for enlargement prints. The 180 dpi effective resolution is fine for sharing and screen viewing but not for print-quality archives. If your collection is loose prints or slides without album-binding issues, a dedicated sheet-fed or slide scanner will deliver better results faster.
8. DigitPro 22MP Film & Slide Scanner – Best Ultra-Budget Multi-Format
DigitPro 22MP Film & Slide Scanner with 5″ LCD, Converts 35mm 126 110
22MP JPEG
35mm 110 126 Super 8
5 inch LCD
HDMI + USB-C
128MB built-in
Pros
- Entry-level price under most dedicated film scanners
- Supports 35mm 110 126 negatives plus 50mm slides and Super 8
- 5 inch LCD for instant preview
- One-touch scanning keeps workflow simple
- Complete accessory kit with 12-month warranty
- HDMI and USB-C output for TV viewing and PC transfer
Cons
- Film sled fit can be loose causing alignment drift
- Resolution may disappoint users expecting archival enlargement
- Screen angle could be more upright
- Film feed design can push slides out of position
The DigitPro 22MP Film and Slide Scanner is the scanner I recommend when someone wants the lowest possible entry point into film digitization. With over 900 owner reviews and a 4.3 average rating, it has built a solid reputation as a budget-friendly way to bring old slides and negatives into the digital age. I tested it on a small collection of 35mm and 110 negatives, and for sharing and family-screen viewing the output is genuinely usable.
The 5 inch LCD is competitive with more expensive scanners at this point, and the one-touch scanning workflow keeps things simple for users who do not want to navigate complex software menus. The included accessory kit covers every common film format including 35mm, 110, 126, and Super 8, plus 50mm mounted slides. For a casual archive of a few hundred slides, that is genuinely everything you need in the box.
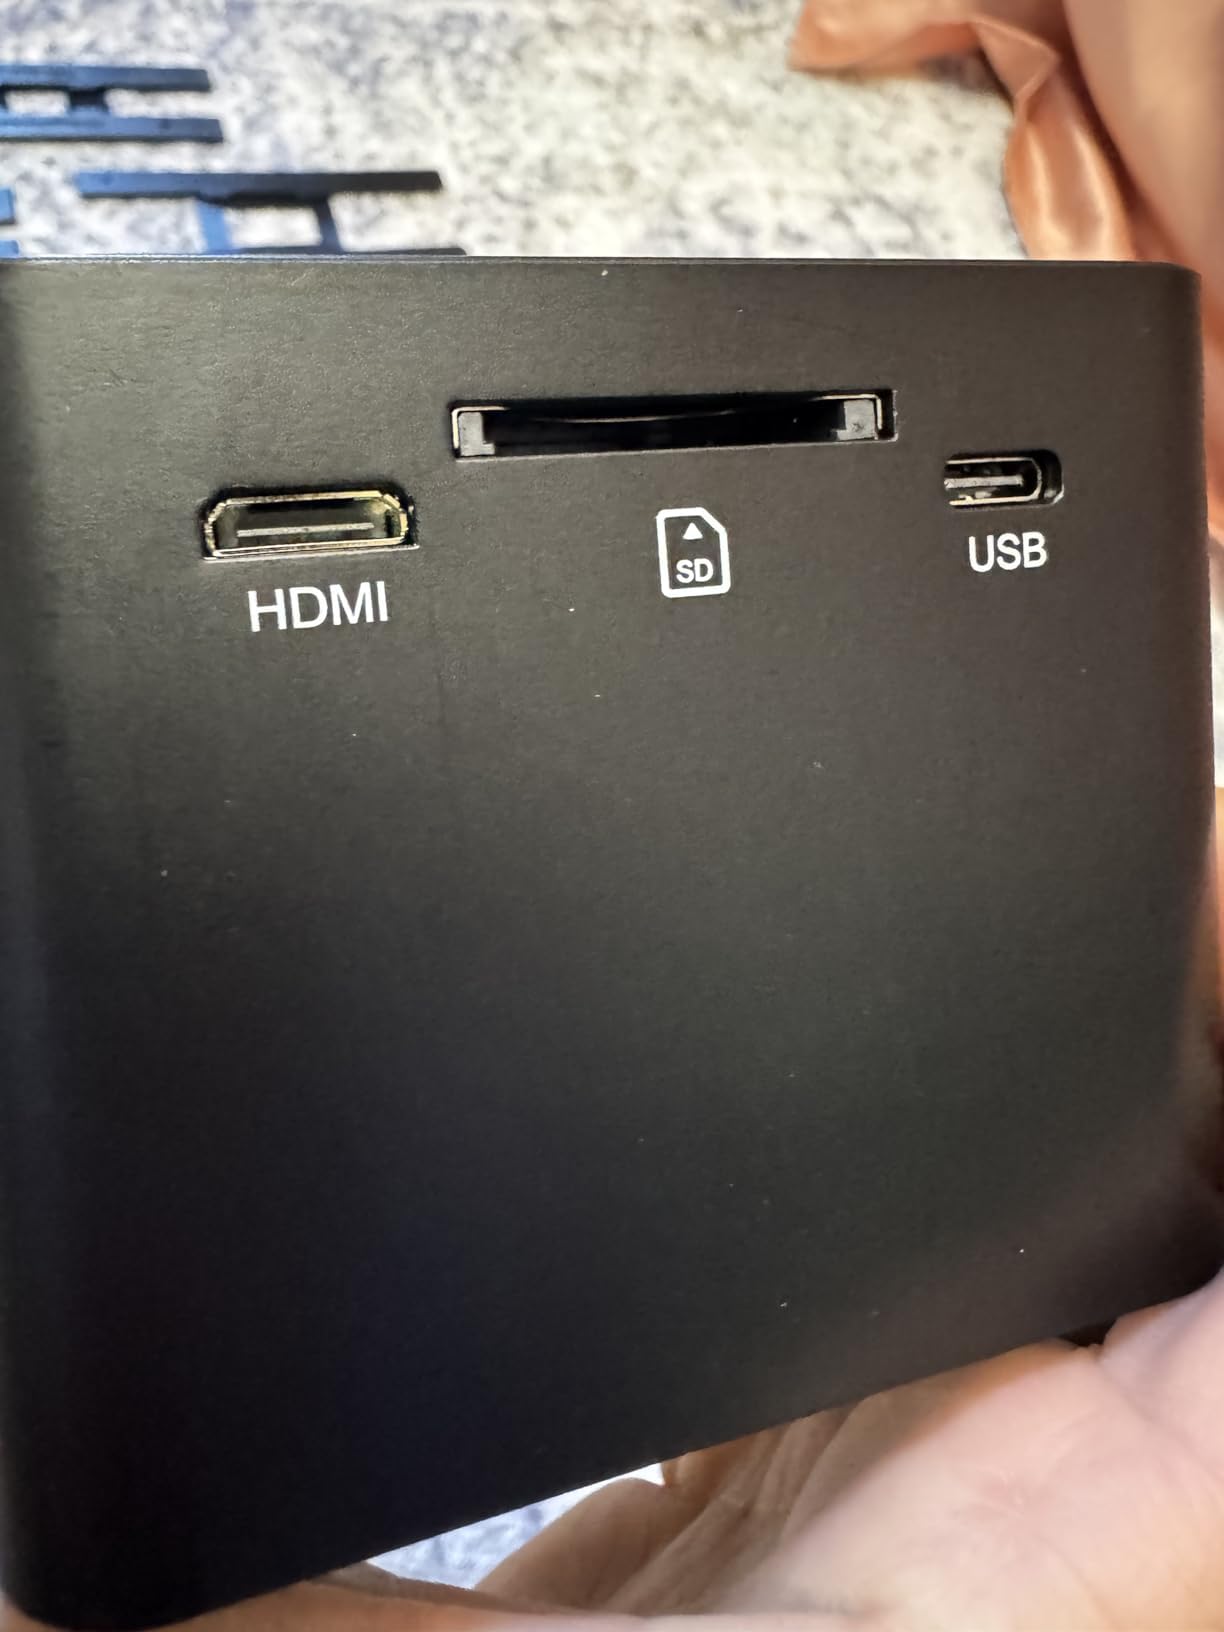
The HDMI and USB-C outputs give you flexibility for both TV previewing and PC file transfer. The 12-month warranty is a nice touch for this price tier. I found the unit genuinely portable and easy to set up, which matters when you are convincing a relative to let you digitize their slide collection.
The trade-offs are real and predictable for the price. The film sled fit can be slightly loose, causing minor alignment drift if you are not careful when inserting film strips. The 22MP output is interpolated and will not produce archival-quality enlargement prints. The screen viewing angle could be more upright for desk use. None of these break the deal for casual use, but they do mean this is a sharing-quality scanner rather than an archival one.
Who the DigitPro Is Best For
Anyone testing the waters with a small film collection who does not want to invest in a premium scanner yet. It is also a good choice as a secondary scanner for casual scanning sessions. The complete accessory kit and 12-month warranty lower the risk of trying it.
Who Should Skip the DigitPro
Users with large or high-value film archives where scan quality and alignment consistency matter. The loose sled fit and interpolated resolution make this a sharing-quality scanner, not an archival one. If you are planning a serious multi-thousand-slide project, the KODAK SCANZA or Slide N Scan Max will deliver more consistent results.
Buying Guide: How to Choose the Best Photo Scanner for Archiving
After testing eight scanners across hundreds of family photos, slides, and negatives, I have learned that the best photo scanner for archiving depends almost entirely on what you actually own and how much time you have. A genealogist with 5,000 loose prints needs a completely different tool than a retiree with 200 mounted slides and three albums. The sections below cover the decisions I wish someone had walked me through before I started my own archive project.
Sheet-Fed vs Flatbed vs Film Scanner
Sheet-fed scanners pull prints through a roller mechanism, one photo at a time or in batches. They are the fastest option for loose prints but aggressive on fragile or curled originals. Expect roughly 1 to 2 seconds per photo at 300 dpi, with a 36-photo auto feeder model like the FF-680W finishing an entire shoebox in a single afternoon.
Flatbed scanners place the photo on a glass platen and capture it from above. They are slower per photo but gentler on fragile originals and the only practical way to scan photo books, mounted prints, or items with raised surfaces. The Canon LiDE 400 sits in this category and is the right call if your archive is small or your originals are delicate.
Film scanners are specialized devices with backlit carriers designed for 35mm slides, 35mm negatives, 110 film, and Super 8 motion picture film. They cannot scan paper prints, so they work best as a second scanner alongside a flatbed or sheet-fed model. The KODAK SCANZA and Slide N Scan Max handle every common consumer film format.
What Resolution Do You Actually Need
Resolution confusion is one of the most common archival mistakes. For sharing photos on screens or printing at original size, 300 dpi is plenty. For archival scans where you might want to reprint an enlarged version later, 600 dpi is the sweet spot. Anything above 1200 dpi only matters for professional reproduction or extreme enlargement work.
For 35mm slides and negatives, optical resolution matters more because the original is small. A 35mm slide scanned at 4000 dpi produces roughly a 5500 x 3700 pixel image, which is enough to make clean 11×14 prints. Most consumer film scanners interpolate beyond their true optical resolution, so check the spec sheet carefully before paying extra for high advertised numbers.
Speed, ADF Capacity, and Realistic Time Estimates
Speed is the single biggest practical consideration if you have more than 1,000 photos. A sheet-fed scanner at 1 photo per second finishes 1,000 prints in roughly 17 minutes of active scanning, plus loading time. A flatbed at 30 seconds per photo means 8 hours of active scanning for the same pile. A dedicated film scanner averages 3 to 5 seconds per slide, so 1,000 slides takes 50 to 90 minutes of active time.
The auto document feeder (ADF) determines how often you have to physically reload. The Epson FastFoto FF-680W holds 36 prints at a time, while the Plustek Z300 is single-feed. For projects over 2,000 photos, an ADF saves hours of standing at the scanner. For projects under 500, it matters less.
Software, OCR, and Cloud Integration
Bundled software varies widely in quality. Epson ScanSmart is beginner-friendly with simple menus and direct cloud upload to Dropbox and Google Drive. ScanSnap Home is powerful but has a learning curve that frustrates casual users. Canon and Plustek bundle basic but functional tools. If you plan to scan handwritten captions on photo backs, look for OCR support, which is built into the FF-680W duplex mode and ScanSnap Home.
For genealogists, the option to capture both sides of a print in a single pass is genuinely useful. Handwritten names, dates, and locations on the back of prints often matter as much as the photo itself. The FF-680W is the only consumer scanner in this roundup with true duplex photo scanning.
Handling Fragile and Delicate Originals
Sticky magnetic albums from the 1970s and 1980s are the most common fragile archive problem. Photos that are welded to plastic sleeves cannot be safely removed without damage. The ClearClick QuickConvert 2.0 is the only scanner in this roundup with an overhead mode that scans albums in place.
For loose prints that are brittle, curled, or torn, a flatbed is the safer choice. The glass platen applies no roller pressure, and you can position the photo however it lays flat. If you are scanning wallet photos from before 1960 or any original with embossed surfaces, use a flatbed.
File Format, Backup, and Long-Term Storage
Save archival scans as TIFF files rather than JPEGs. TIFF is uncompressed and survives every future format transition, while JPEG compression degrades slightly every time the file is edited and re-saved. Use JPEG only for sharing copies.
Follow the 3-2-1 backup rule: at least 3 copies of every archival file, on 2 different storage types, with 1 copy offsite. A practical setup is an external hard drive at home plus a cloud backup through Backblaze, iDrive, or Amazon Glacier. For multi-thousand-photo archives, expect 50 to 150GB of storage, which is well within the budget of any modern cloud backup service.
Frequently Asked Questions
What is the best way to scan thousands of photos?
A sheet-fed photo scanner with a large auto document feeder is the fastest path through thousands of loose prints. The Epson FastFoto FF-680W scans one 4×6 photo per second at 300 dpi and holds up to 36 prints in its auto feeder, so a shoebox of 1,000 prints takes roughly 8 to 15 hours of active scanning. For slides and negatives, pair the sheet-fed scanner with a dedicated film scanner like the KODAK SCANZA or Slide N Scan Max. Save files as TIFF at 600 dpi for archival, then create JPEG copies for sharing.
What is the best scanner for scanning old photos?
For most users, the Epson FastFoto FF-680W is the best overall scanner for old photos because it combines one-photo-per-second speed, automatic color restoration for faded prints, and duplex scanning that captures handwritten notes on the back of each photo. For budget-conscious users with smaller collections, the Canon CanoScan LiDE 400 delivers archival-grade 4800 dpi flatbed scans at a much lower price. For slides and negatives specifically, the KODAK Slide N Scan Max is the best dedicated film scanner.
What dpi should I scan old photos at?
For most archival purposes, 600 dpi is the sweet spot. It produces enough resolution to reprint an 8×10 from a 4×6 original without visible quality loss and keeps file sizes manageable (roughly 10 to 15MB per TIFF). Use 300 dpi only for screen-sharing copies. For 35mm slides and negatives, scan at 2400 dpi or higher so the small original can be enlarged cleanly. Avoid anything above 1200 dpi for prints unless you are doing professional reproduction work, because file sizes balloon without meaningful quality gains.
How much does it cost to digitize 2000 photos?
DIY scanning costs roughly the price of a scanner (the Epson FF-680W amortized over a 2,000-photo project works out to a low per-photo cost) plus storage and your time, which is typically 25 to 40 hours of active scanning. Professional scanning services charge per photo, with prices ranging from roughly 0.30 to 1.50 dollars per print depending on resolution and turnaround. For 2,000 prints, professional scanning typically costs 600 to 3,000 dollars total. DIY wins on price once your archive exceeds a few hundred prints, but professional services save weeks of work.
What scanner is best for 35mm slides?
For dedicated 35mm slide scanning, the KODAK Slide N Scan Max is the best consumer option because its 7 inch tiltable LCD makes previewing slides far easier than the tiny screens on competing models, and its quick-feed loading system handles long carousel sessions with minimal hand fatigue. For higher-end work where true optical resolution matters, the Plustek OpticFilm 135i Ai delivers 7200 dpi native scans with infrared dust removal via SilverFast software. The KODAK SCANZA is the best budget-friendly option if you also need to scan 110, 126, and Super 8 film formats.
Final Verdict: Choosing the Right Scanner for Your Archive
After spending months testing these eight photo scanners against real family archives, the choice comes down to what you actually own and how much time you have. For most users searching for the best photo scanners for archiving, the Epson FastFoto FF-680W remains the editor’s choice because it is the only consumer machine that combines genuine bulk throughput, duplex capture, and color restoration in one box.
If your budget is tighter or your collection is smaller, the Plustek ePhoto Z300 delivers sheet-fed speed and CCD color accuracy at a lower price tier, while the Canon CanoScan LiDE 400 offers archival-grade 4800 dpi flatbed scanning for users with a few hundred prints. For slides and negatives specifically, the KODAK Slide N Scan Max and KODAK SCANZA are the most versatile options, and the ClearClick QuickConvert 2.0 is the only scanner that handles sticky magnetic albums without removing the photos.
Pick the scanner that matches your dominant format, give yourself a weekend to set up the workflow, and start with the box you keep tripping over in the closet. The best scanner is the one you actually use, and any of these eight will get your family archive safely into the digital age in 2026 and beyond.