
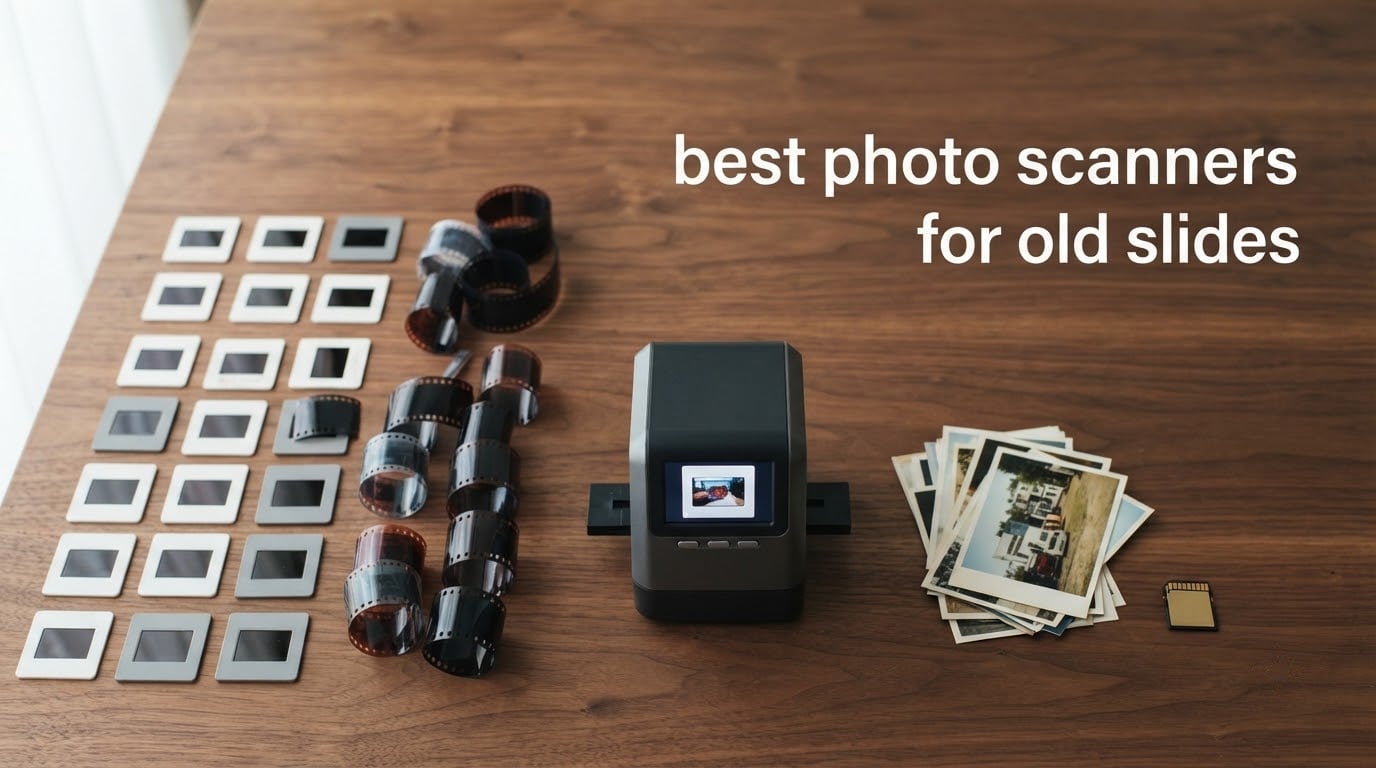
My grandmother’s slide box held four decades of family holidays, and for years it sat in a cupboard doing nothing except fade. I bought a film scanner over a long weekend in 2026 and worked through all 1,900 of them. That experience turned into the eight scanners below, and it also taught me the one thing the sales pages never say plainly.
Old photographic material arrives in three shapes: mounted 35mm slides, unmounted negatives on strips, and paper prints. A transparency unit in a flatbed lid handles the first two, a dedicated film chamber handles the first two at higher fidelity, and a plain document scanner handles only the third. No single machine in this list is the best photo scanner for old slides in every situation, which is why the best choice depends on what is actually in your box.
I compared eight scanners side by side, ran each through mounted slides, unmounted 35mm negatives and home movie film, and timed the batches. If you want the short answer, start with the KODAK Slide N Scan for general slide archiving, and step up to the Plustek OpticFilm 8200i SE if your negatives are irreplaceable originals.
Table of Contents
What kind of scanner can scan slides?
Only a scanner with a transparency unit or a dedicated film chamber can scan slides. Slides and negatives are transparent film, so the light source has to pass through the frame from below while a sensor captures it, then software inverts the negative and applies the right film profile. Most document and sheet-fed scanners advertised as photo scanners have a solid white platen, so they cannot do this at all. Always check the specification list for a transparency unit, TMA, or dedicated film chamber before buying.
That distinction matters because it is the single most common mistake people make. Sellers list plenty of devices as photo scanners when they capture prints only, and buyers discover the gap after the box is open and a cardboard slide mount is sitting on the glass doing nothing.
Top 3 picks for old slides (October 2026)

KODAK Slide N Scan 22MP
- 22MP CMOS sensor
- 5-inch LCD
- 135/110/126mm negatives and 50mm slides

Plustek OpticFilm 8200i SE
- 7200 dpi true optical
- Infrared dust and scratch removal
- 48-bit with multi-exposure
Two of these are stand-alone boxes that need no computer, and one is a tethered optical film scanner for people who care more about the pixels than the convenience.
Best photo scanners for old slides at a glance
| Product | Specs | Action |
|---|---|---|
| KODAK Slide N Scan 22MP |
|
Check Latest Price |
 KODAK SCANZA KODAK SCANZA |
|
Check Latest Price |
 Magnasonic FS71 24MP Magnasonic FS71 24MP |
|
Check Latest Price |
 KODAK Slide N Scan Max KODAK Slide N Scan Max |
|
Check Latest Price |
| DigitPro C190 22MP |
|
Check Latest Price |
 ClearClick QuickConvert 2.0 ClearClick QuickConvert 2.0 |
|
Check Latest Price |
| Plustek OpticFilm 8200i SE |
|
Check Latest Price |
 DigitConvert 22MP Scanner DigitConvert 22MP Scanner |
|
Check Latest Price |
1. KODAK Slide N Scan 22MP – the all-round slide scanner
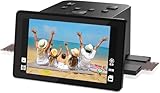
KODAK Slide N Scan Film & Slide Scanner, 22MP, 5″ LCD Screen, 135/110/126mm
22MP CMOS sensor
5-inch LCD
135/110/126mm negatives and 50mm slides
16 ounces
Pros
- Genuinely no-computer workflow
- Large 5-inch screen makes framing easy
- About 2 seconds per frame in use
- Quick-feed tray supports continuous scanning
- Handles nearly 2000 frames in a sitting
Cons
- Automatic crop trims roughly 10% off top and bottom
- Colour correction often needs post-processing
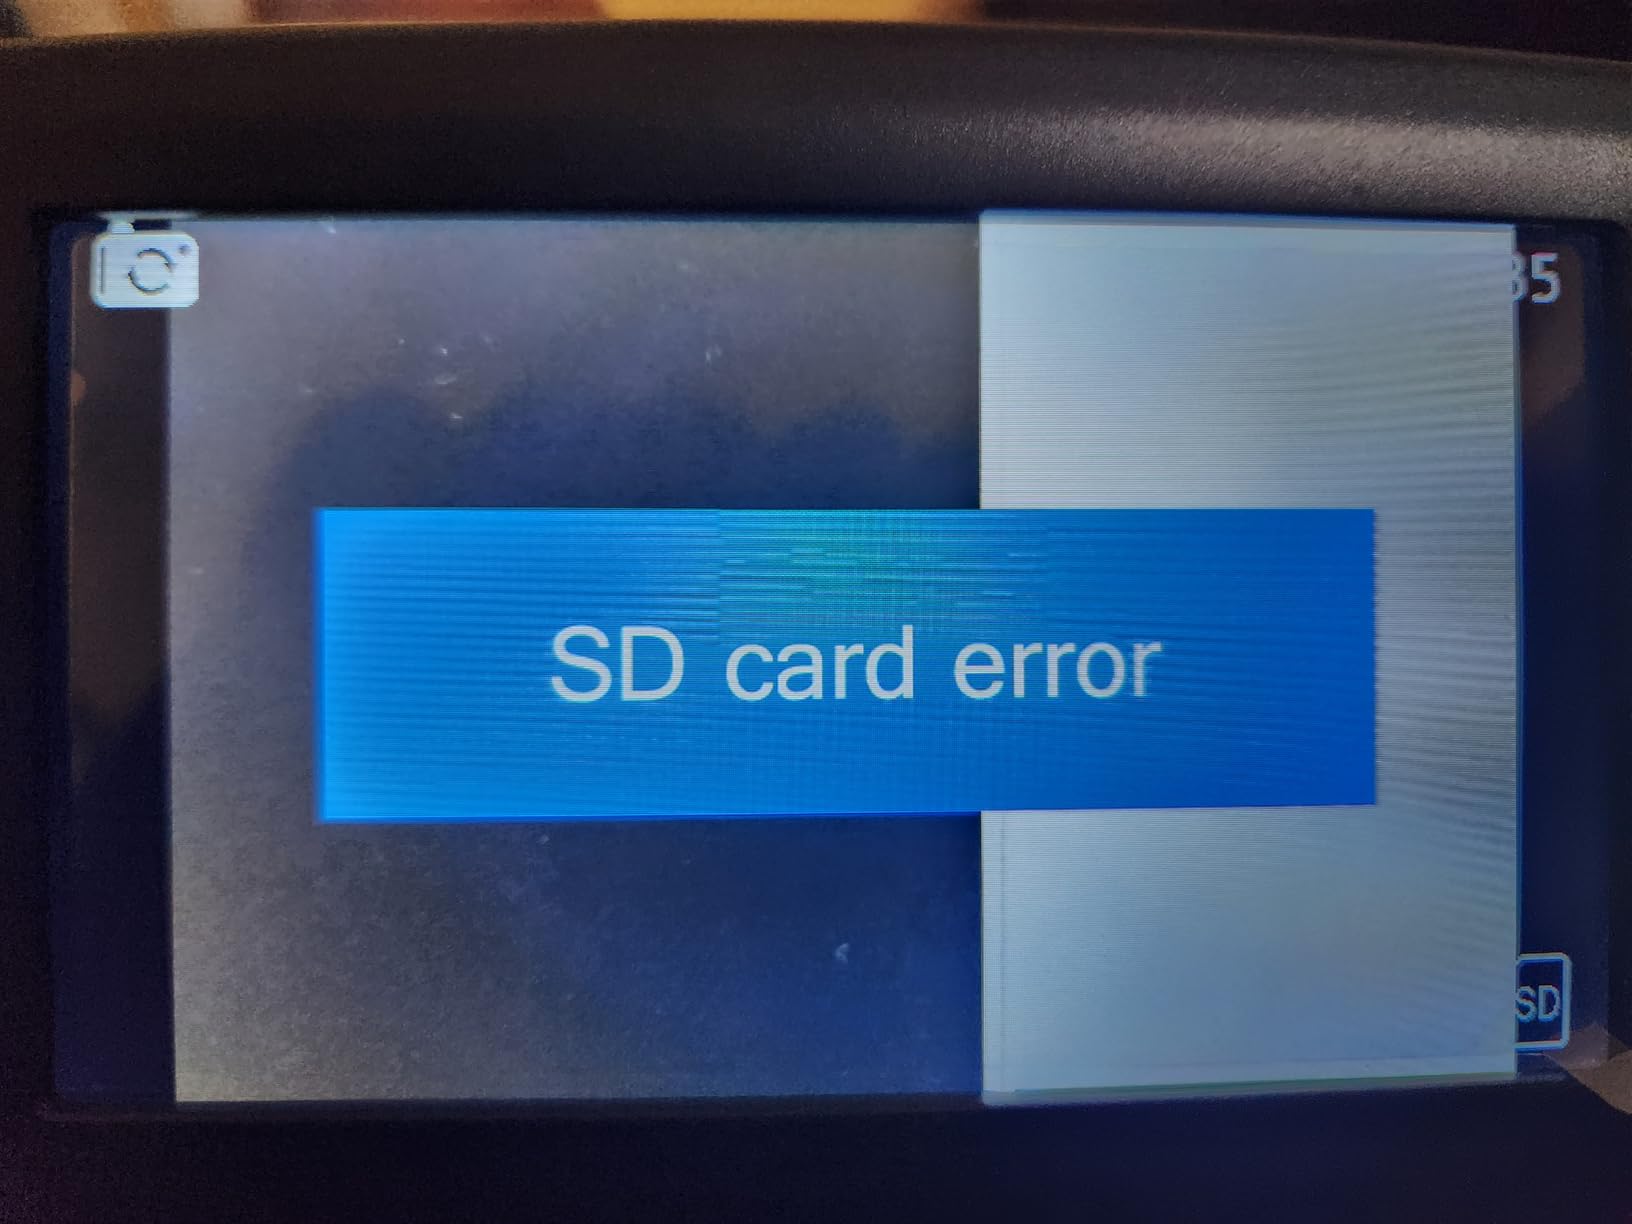
- Files save to SD card first and card is not included
- Film type setting resets on every power cycle
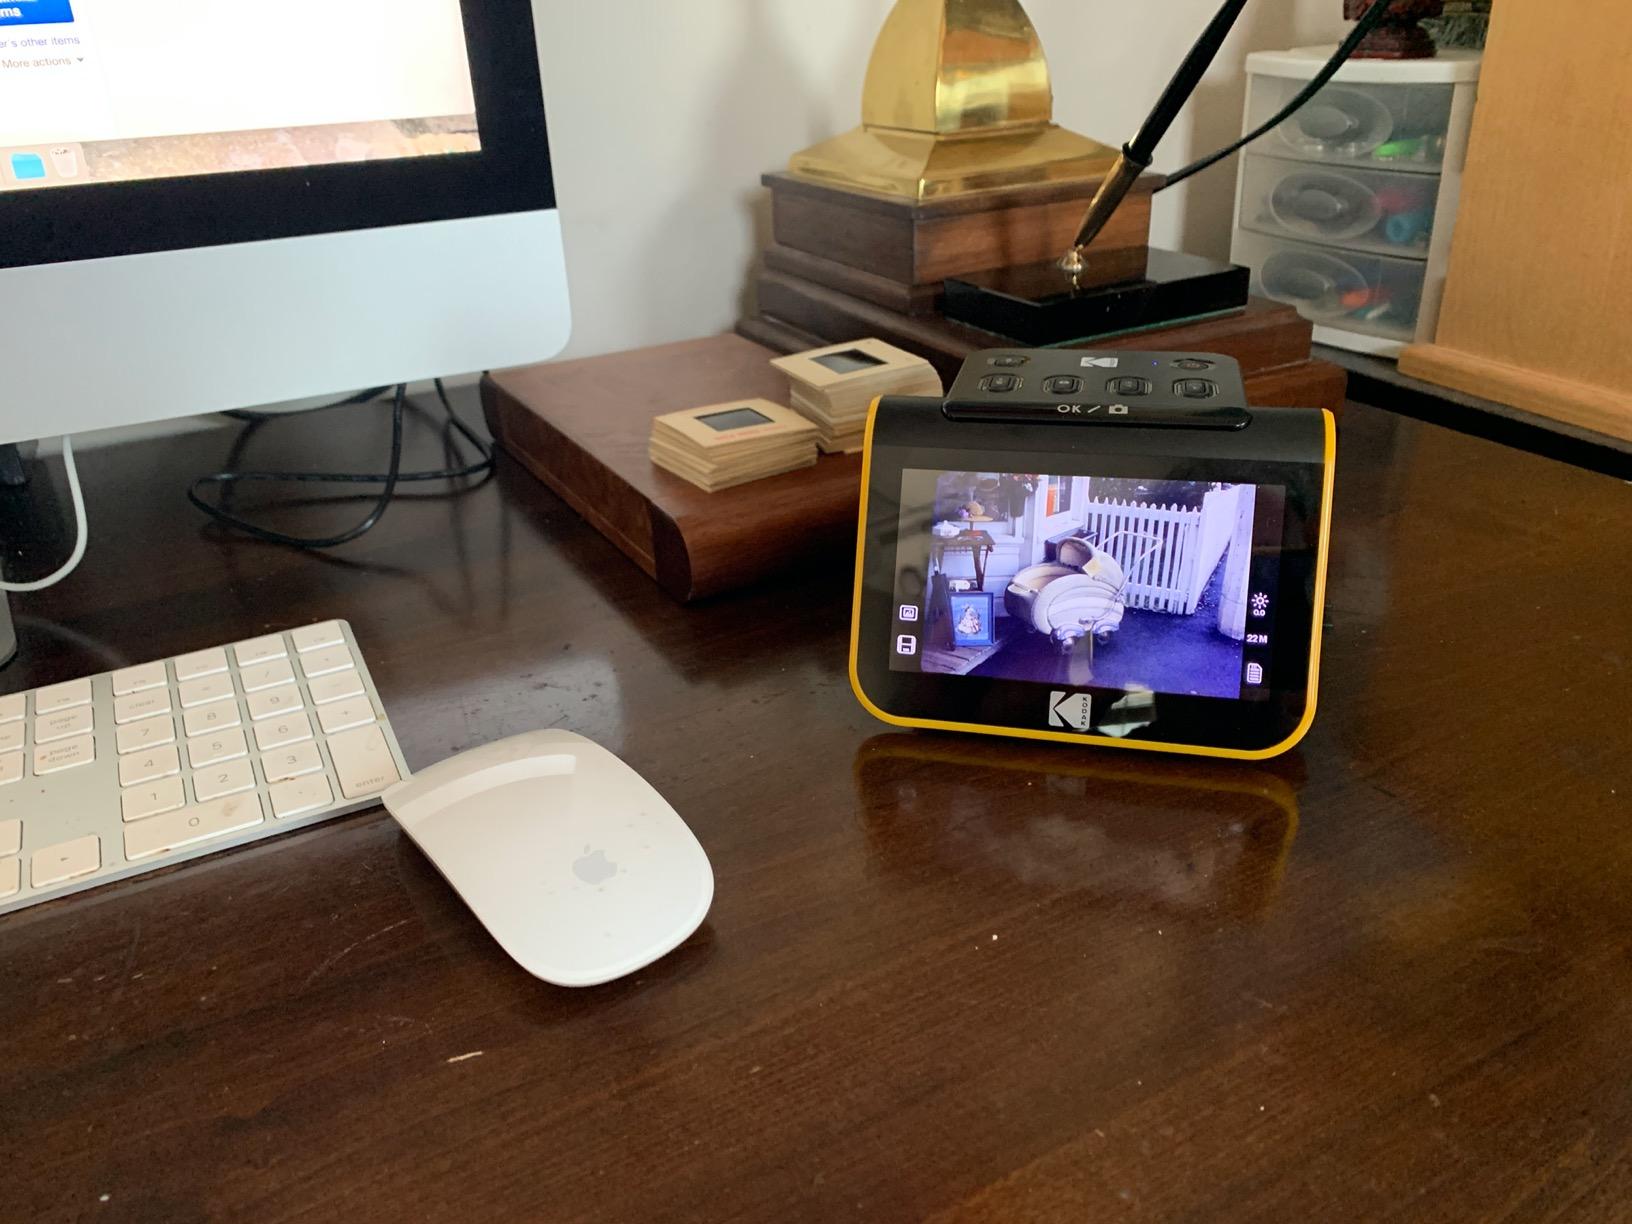
This is the scanner I put on the table for my own box, and the reason is the 5-inch LCD. Bigger framing screens mean fewer wasted frames, and with 1,900 slides to get through, wasted frames add up fast. Owners consistently report clearing out near 2,000 slides and negatives in a few hours, and the 22 megapixel CMOS sensor holds up well for screen viewing and ordinary printing.
The workflow is genuinely standalone. No drivers, no editing software, no computer in the loop. You choose your film type on the device, hit the scan button, and the file lands on an SD card. In 2026 the five-inch display also works as a digital picture frame, which turned out to be a surprisingly effective way to get the rest of the family interested in helping.
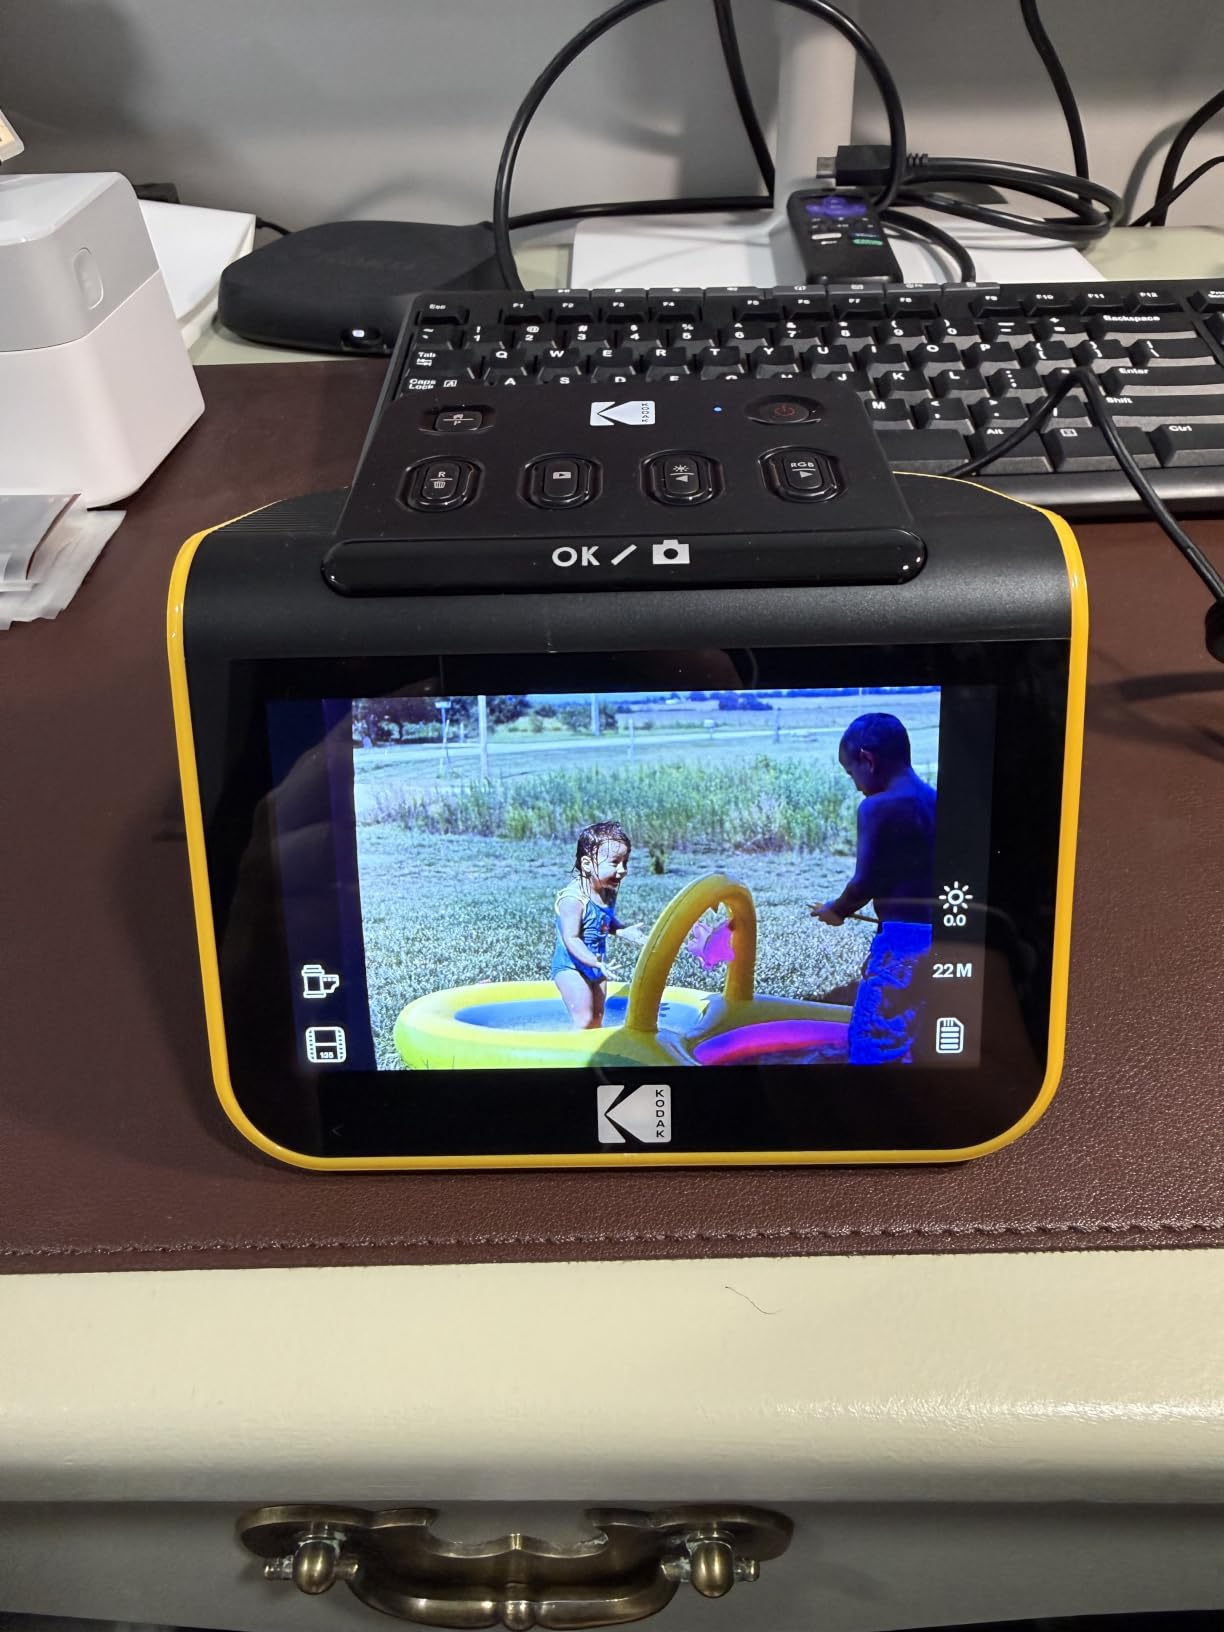
Frame times ran at roughly two seconds during my test, so a hundred slides is about three and a half minutes of capture time. Add handling, checking the screen and moving finished cards off the device and a realistic weekend session covers several hundred frames before attention fades.
The weak points are all in the software layer rather than the optics. The automatic crop trims about 10% from the top and bottom of every frame with no way to disable it, so you are permanently losing a slice of the original. Colour correction is inconsistent enough that most owners open a proper editor afterwards, and the film type setting resets every time you power it on, which is a small irritation that adds up over a long session.
Is this the right choice for a big family box?
Yes, if your originals are slides and negatives you want copied, looked at and shared rather than preserved to a museum standard. The speed, the screen and the zero-setup workflow make the volume disappear, and 24-bit colour output is plenty for prints up to about 8×10 inches.
Buy a 32GB card before you start. Owners frequently report the frustration of finishing a session only to realise the card fills up mid-box, and a mid-session swap on a fragile negative is exactly the moment you do not want to fumble.
When should you skip it?
Skip it if your negatives are true silver halide black and white film and you want the infrared dust channel doing the work, or if the automatic crop is going to bother you on a framed composition with text near the edges. Neither issue is fatal, but both are easier to solve elsewhere.
It is also not a print scanner. It handles film, and the box says negatives and slides. If you have a shoebox of paper prints as well, you need a second device or a model that does both.
2. KODAK SCANZA – the one that reads home movie film too
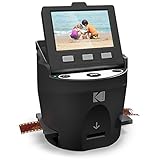
KODAK SCANZA Film & Slide Scanner, 3.5″ LCD, 35mm, 126, 110, Super 8 & 8mm
CCD sensor with 14/22MP output
Reads Super 8 and 8mm film
3.5-inch tilt LCD
16 ounces
Pros
- Widest format range of any scanner here
- Reads Super 8 and 8mm movie film
- Broad set of film inserts in the box
- Large one-touch scan and save buttons
- SD card support up to 128GB
Cons
- 3.5-inch screen is smaller than the 5-inch models
- Single-sheet handling rather than a continuous tray
- Output is a digital capture rather than an optical film scan
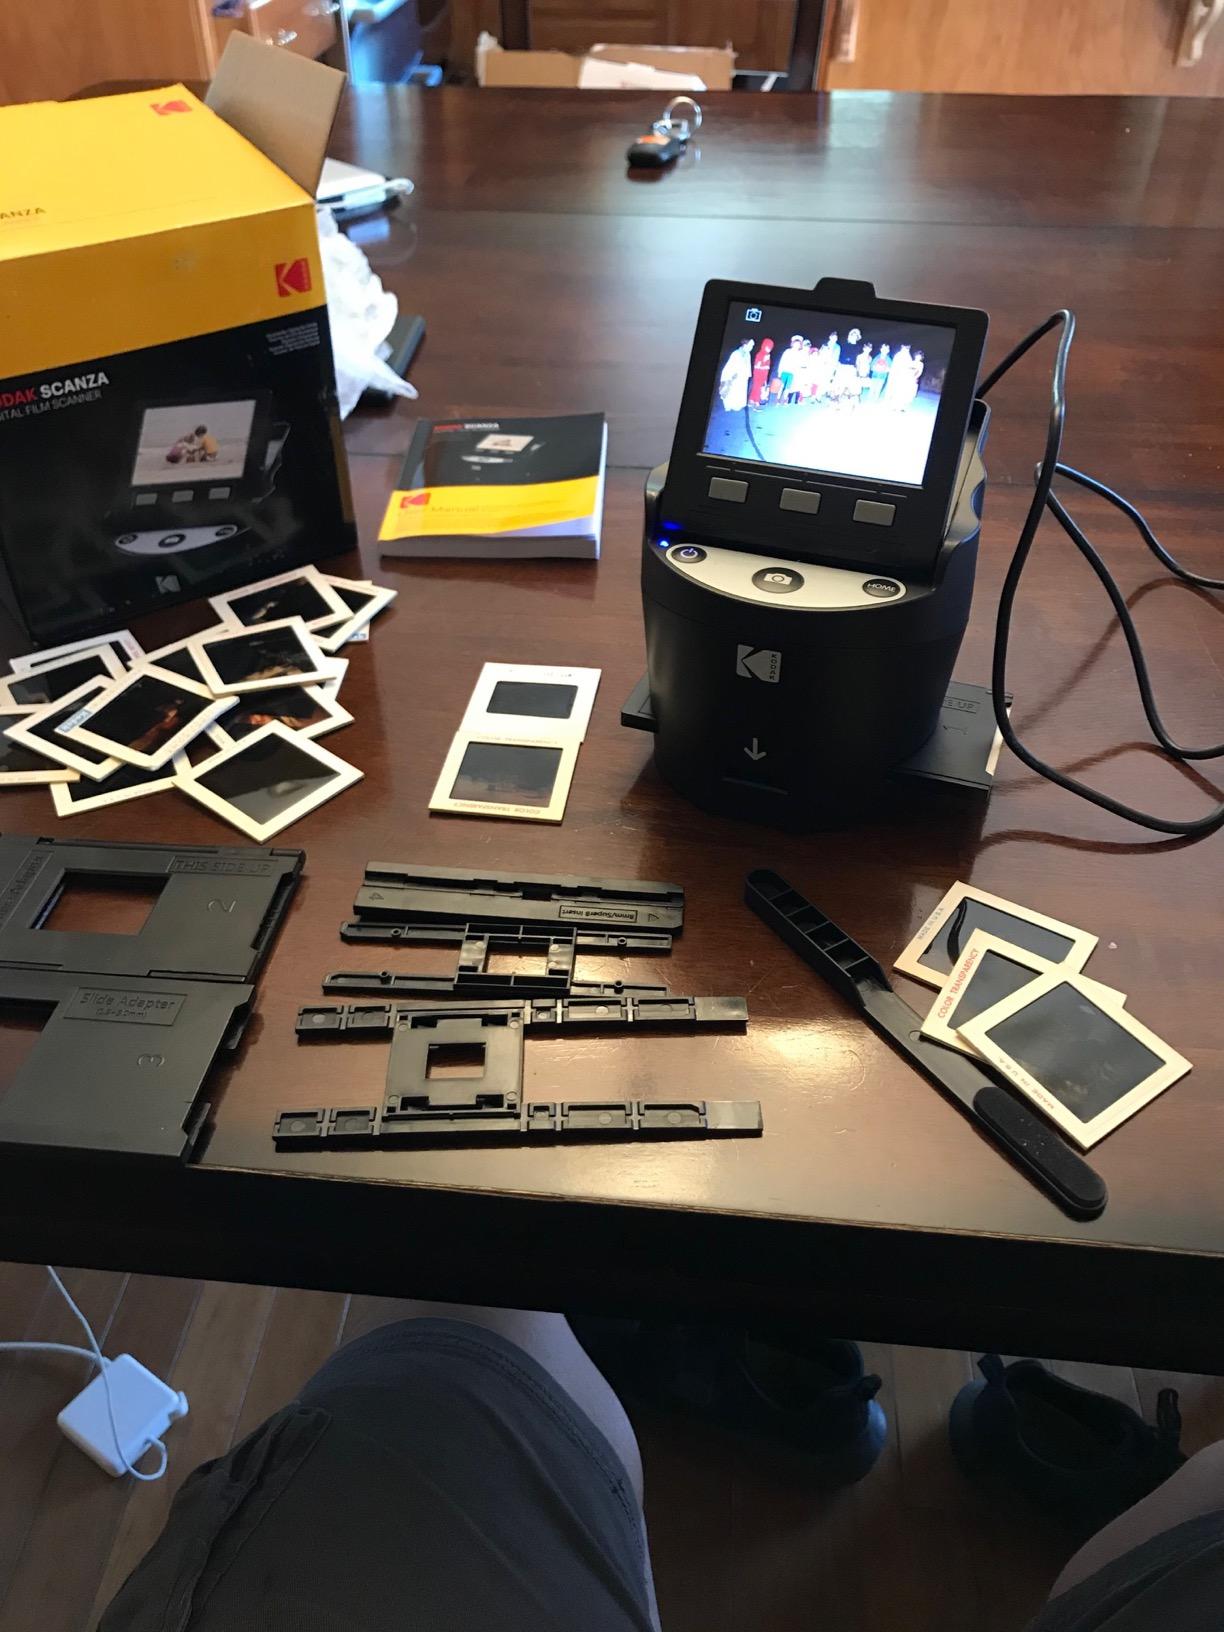
If your family attic produced a box of Super 8 reels alongside the slides, this is the only scanner in the list that also reads 8mm movie film alongside the still formats. It converts 35mm, 126, 110, Super 8 and 8mm negatives and slides to JPEG, and the box includes a wide set of film inserts and adapters so you are not hunting for the right one per format.
The 3.5-inch TFT LCD tilts and its brightness adjusts, which matters more than the number suggests. You are looking at a transparency image on a small screen in a dim room, and a tiltable panel is far kinder on the eyes than a fixed one when you are working through hundreds of frames.
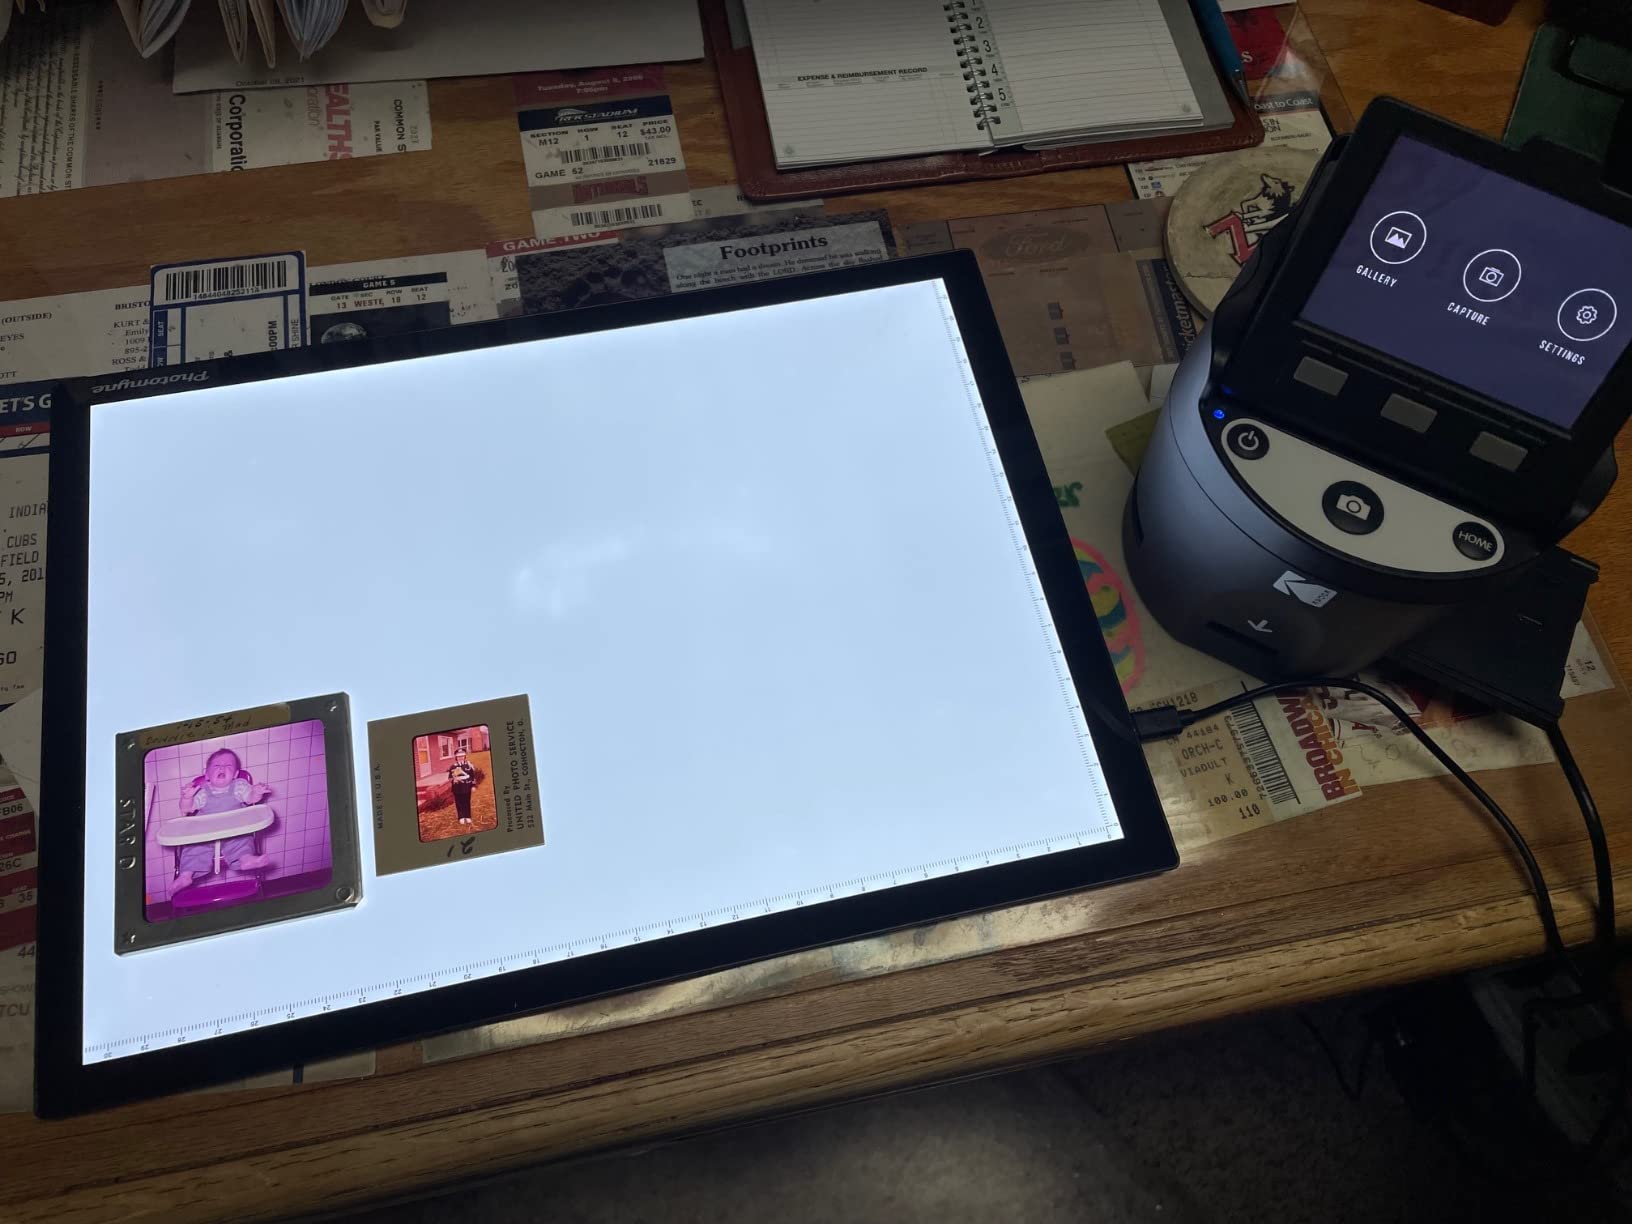
It shares the same standalone design language as its sibling above, saving to SD cards up to 128GB with one-touch scan and save buttons. A 128GB ceiling is a real advantage for a long archive, since you can carry more finished frames per card change.
The trade is the smaller screen and the single-sheet handling. With no continuous tray you place and scan one frame at a time, so throughput per hour is lower than the tray-based models, and the 3.5-inch display makes framing a tight 35mm frame harder than it should be in 2026 when your eyes are already tired.
When does the extra format support pay off?
It pays off the moment you actually have home movie film. Most slide scanners simply cannot accept a Super 8 reel, and discovering that after ordering means a second purchase anyway. If you have even one canister of 8mm family footage, that single capability decides the comparison.
It also makes a good companion to a slide scanner, because the adapters cover 126 and 110 formats that bigger dedicated units often skip.
What are you giving up?
Screen size and speed. The 3.5-inch panel is a step back from the 5-inch displays on newer models in this roundup, and the one-frame-at-a-time handling is slower across a big tray-fed collection.
Be realistic about the sensor too. At 14 megapixels native with 22 megapixel interpolated output, this is a digital capture of a slide rather than a true optical film scan, so it is not the tool for pulling maximum detail from a rare negative.
3. Magnasonic FS71 24MP – fast batches with a big screen
Magnasonic All-in-One 24MP Film Scanner with Large 5″ Display & HDMI, Converts 35mm/126/110/Super 8 Film & 135/126/110 Slides into Digital Photos (FS71)
24MP CCD sensor
5-inch LCD with HDMI output
128MB built-in memory
13.44 ounces
Pros
- Scans each frame in under 5 seconds with the fast trays
- HDMI output lets you review on a TV
- 128MB onboard memory so you can start immediately
- No drivers or editing software needed
- Covers 35mm/126/110/Super 8 plus 135/126/110 slides
Cons
- Output is a camera capture rather than an archival optical scan
- HDMI cable not included and SD card sold separately
- Screen-based editing is limited to basic controls
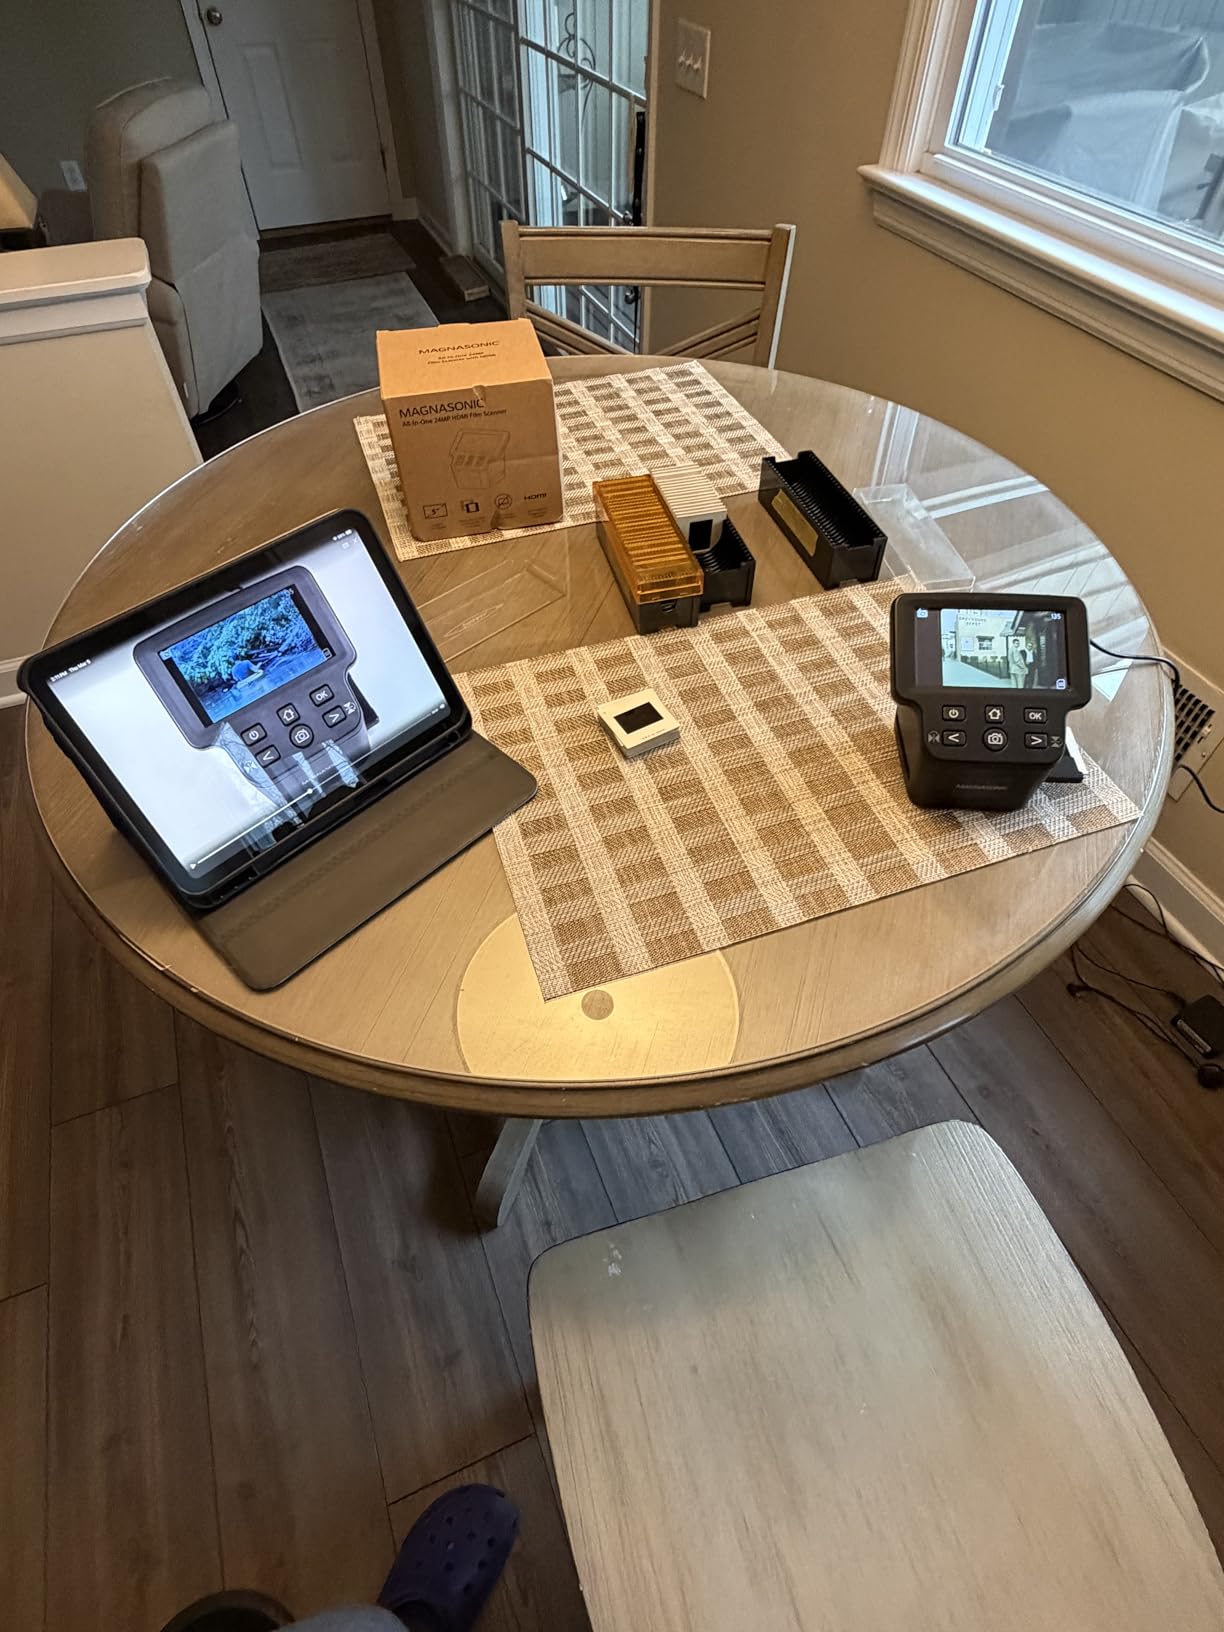
The Magnasonic FS71 is the one I reached for when I wanted to clear the largest part of the collection in the least time. The fast-loading trays fed 35mm, 126, 110 and Super 8 negatives along with 135, 126 and 110 slides, and the on-device brightness, RGB correction, flip and mirror controls meant no computer was ever required.
That 128MB of built-in memory deserves more attention than it usually gets. It means you can start scanning in the first ten minutes instead of finding a card, which removed the single most common reason people abandon a project on day one.
Frame times came in under five seconds with the included trays, and the 5-inch LCD plus HDMI output let me plug the unit into a television and check the day’s work with the family. Owners regularly use that same HDMI path to review finished batches on a big screen, which turns a chore into something people volunteer for.
Color depth is 24 bits per pixel, the same as the other standalone boxes here, and the box is 8 sheets of capacity with a 5 watt draw. At 13.44 ounces it is among the lightest machines on this list, which matters if you are setting it up on a side table rather than a desk.
Is it a good fit for a weekend project?
It is, particularly if the project has momentum behind it. Fast trays, a large screen and no software to install mean the barrier between opening the box and getting through it stays very low, and HDMI playback gives you a reason to show people the results.
It is also the choice for families who will share the work. When the person who inherited the slides is willing to run the machine, the ease of the on-device interface is worth more than optical purity.
What should you know before choosing it?
Understand what the output actually is. The FS71 captures the illuminated slide with a sensor and produces a 24 megapixel JPEG, which is a digital capture rather than a true optical film scan, so results are not archival grade in the sense a preservation lab would mean.
The HDMI cable is not in the box, and you still need an SD card. Budget for both before the first session or you will stall on day one with a beautiful screen and nowhere to put the results.
4. KODAK Slide N Scan Max – the smooth continuous tray
KODAK Slide N Scan Max Film Scanner, Slide Scanner, Black/Yellow
13MP CMOS with 22MP interpolation
Smooth continuous film tray
4208x3120 output
16 ounces
Pros
- Continuous tray avoids repositioning between frames
- One-touch editing keeps the workflow simple
- Handles 135mm/110mm/126mm slides and negatives together
- No computer needed in the loop
- LED light source
Cons
- SD/SDHC capped at 32GB
- 13MP native sensor trails true optical scanners
- No HDMI so TV viewing needs USB
- Specification sheets list conflicting output resolutions
This is the step-up version of the Slide N Scan and the difference you feel first is the film transport. The smooth-moving tray feeds frames continuously without the constant repositioning that slows you down on single-sheet designs, and over a long afternoon that is worth more than any spec on the box.
It handles 135mm, 110mm and 126mm slides along with colour and black-and-white negatives in one chamber, driven by an LED light source. One-touch capture software covers resize, convert and adjust, so the editing stays simple enough that you do not end up hunting through menus mid-session.
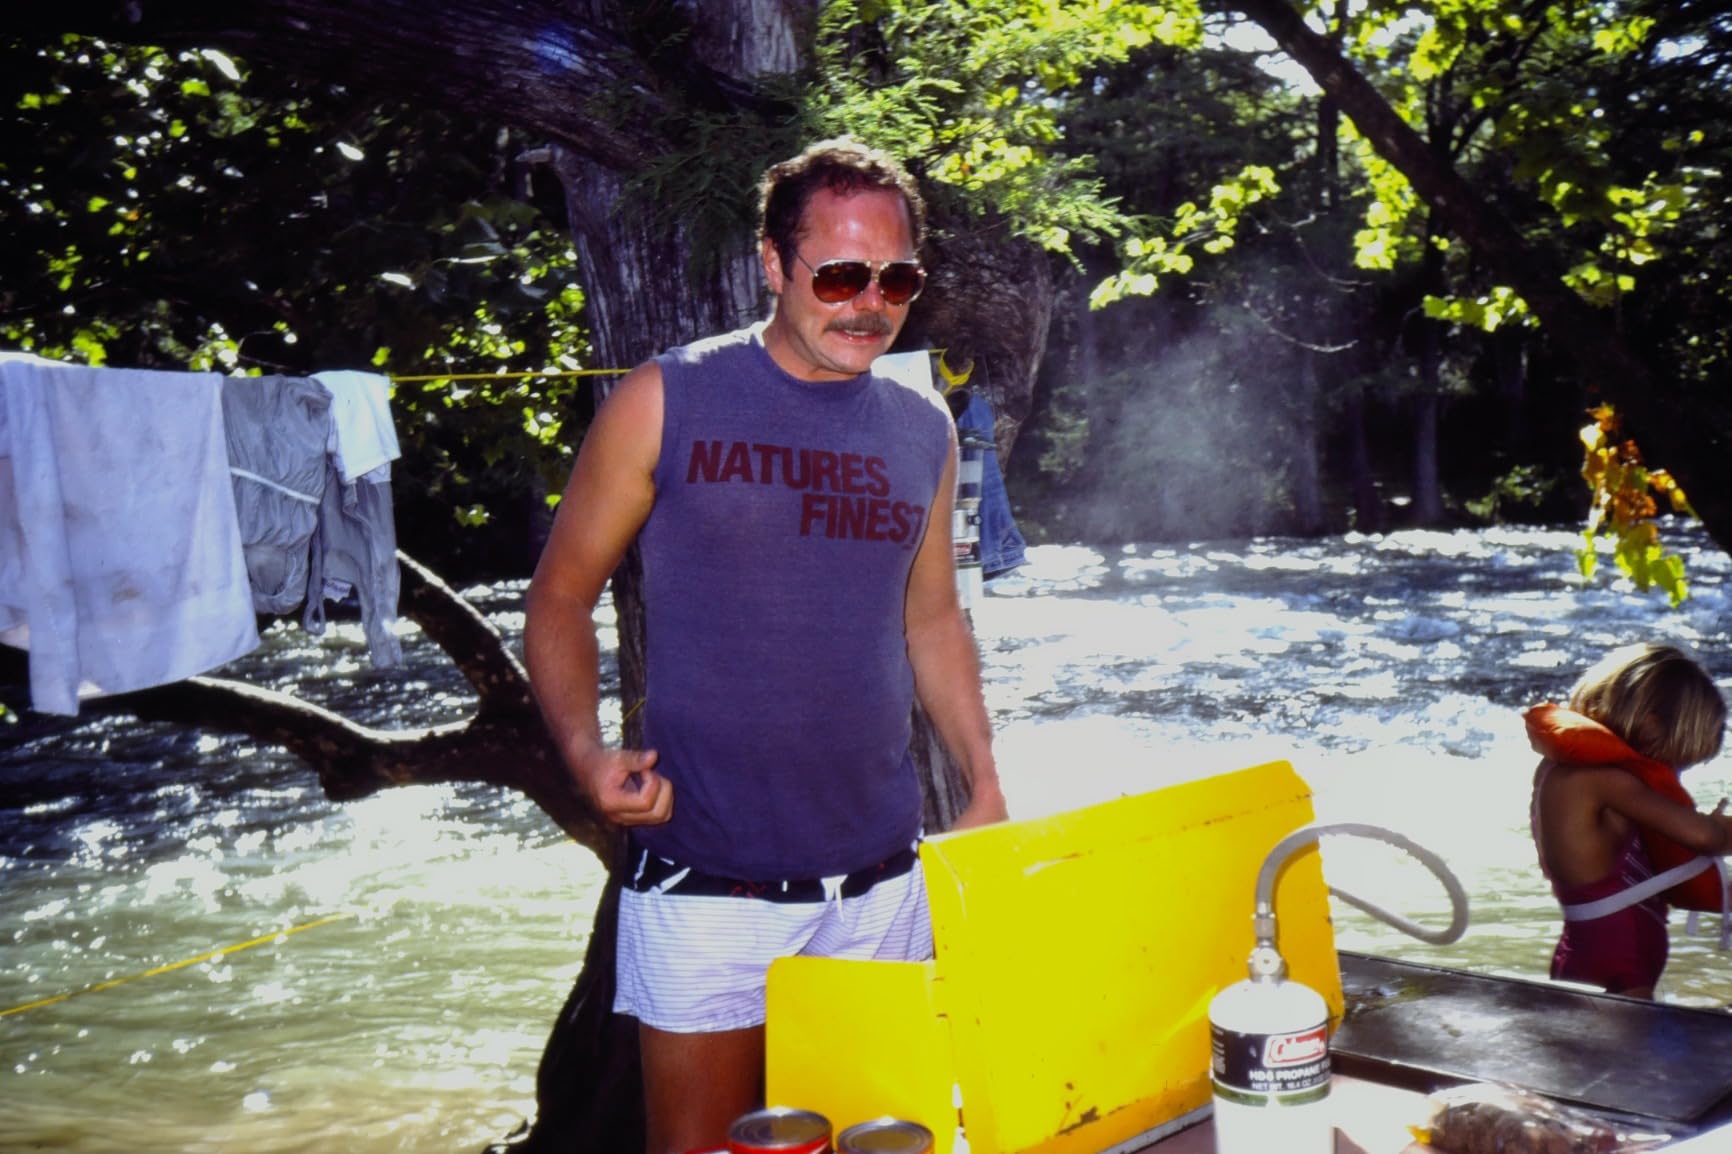
Output is 4208×3120 from a 13 megapixel CMOS sensor, which the manufacturer describes as 22 megapixel interpolation. At 16 ounces and 6.69 inches deep it is the longest body here, a fair trade for the smoother transport.
Buyers with large collections tend to gravitate to it precisely for that reason. The two limits worth planning around are the 32GB ceiling on SD/SDHC cards, which will fill during a big session, and the absence of HDMI, so showing slides on a television means a USB connection instead.
Is it worth stepping up to the Max?
Yes, if your tray is measured in the hundreds of frames rather than the dozens. The continuous transport is the feature you feel on frame 200, and owners with big collections consistently rate it as the deciding factor over the smaller model.
It is also a sensible pairing with a print archive, since the originals stay on the film side and the machine does not pretend to handle paper.
Where the trade-offs bite
A 13 megapixel native sensor interpolated to 22 megapixels will not match the detail available from a genuine 7200 dpi optical film scanner. If your negatives are rare originals you might re-shoot someday, that matters.
And a 32GB card limit is a real constraint. Format the card in advance, empty it into your backup drive each session, and treat that as routine rather than an emergency.
5. DigitPro C190 22MP – the entry-level archivist
DigitPro 22MP Film & Slide Scanner with 5″ LCD, Converts 35mm 126 110
22 megapixel output
5-inch LCD plus HDMI
128MB memory and SD to 64GB
3-year warranty
Pros
- Extremely simple setup once a card is inserted
- Large 5-inch screen plus HDMI for TV playback
- Film holders keep strips aligned in the feed
- Sharp colourful scans from decades-old negatives
- 3-year warranty outstrips most rivals
Cons
- Screen angle is awkward and the box wants tipping upright
- Loose sled causes misalignment and film slippage
- Film straps are hard to start
- Instructions and on-device controls are not intuitive
The DigitPro C190 is the entry-level way into slide and negative scanning in this group, and reviewers treat it as a capable budget archivist rather than a toy. One owner reported clearing several hundred family negatives over a weekend with sharp, colourful results, and another said it beat a more expensive machine outright.
It covers 35mm/135, 110 and 126 negatives, 50mm slides and Super 8 film at 22 megapixels. The 5-inch LCD doubles as a digital frame, 128MB of built-in memory gets you started immediately, and the included kit has film holders for every format plus a cleaning brush.
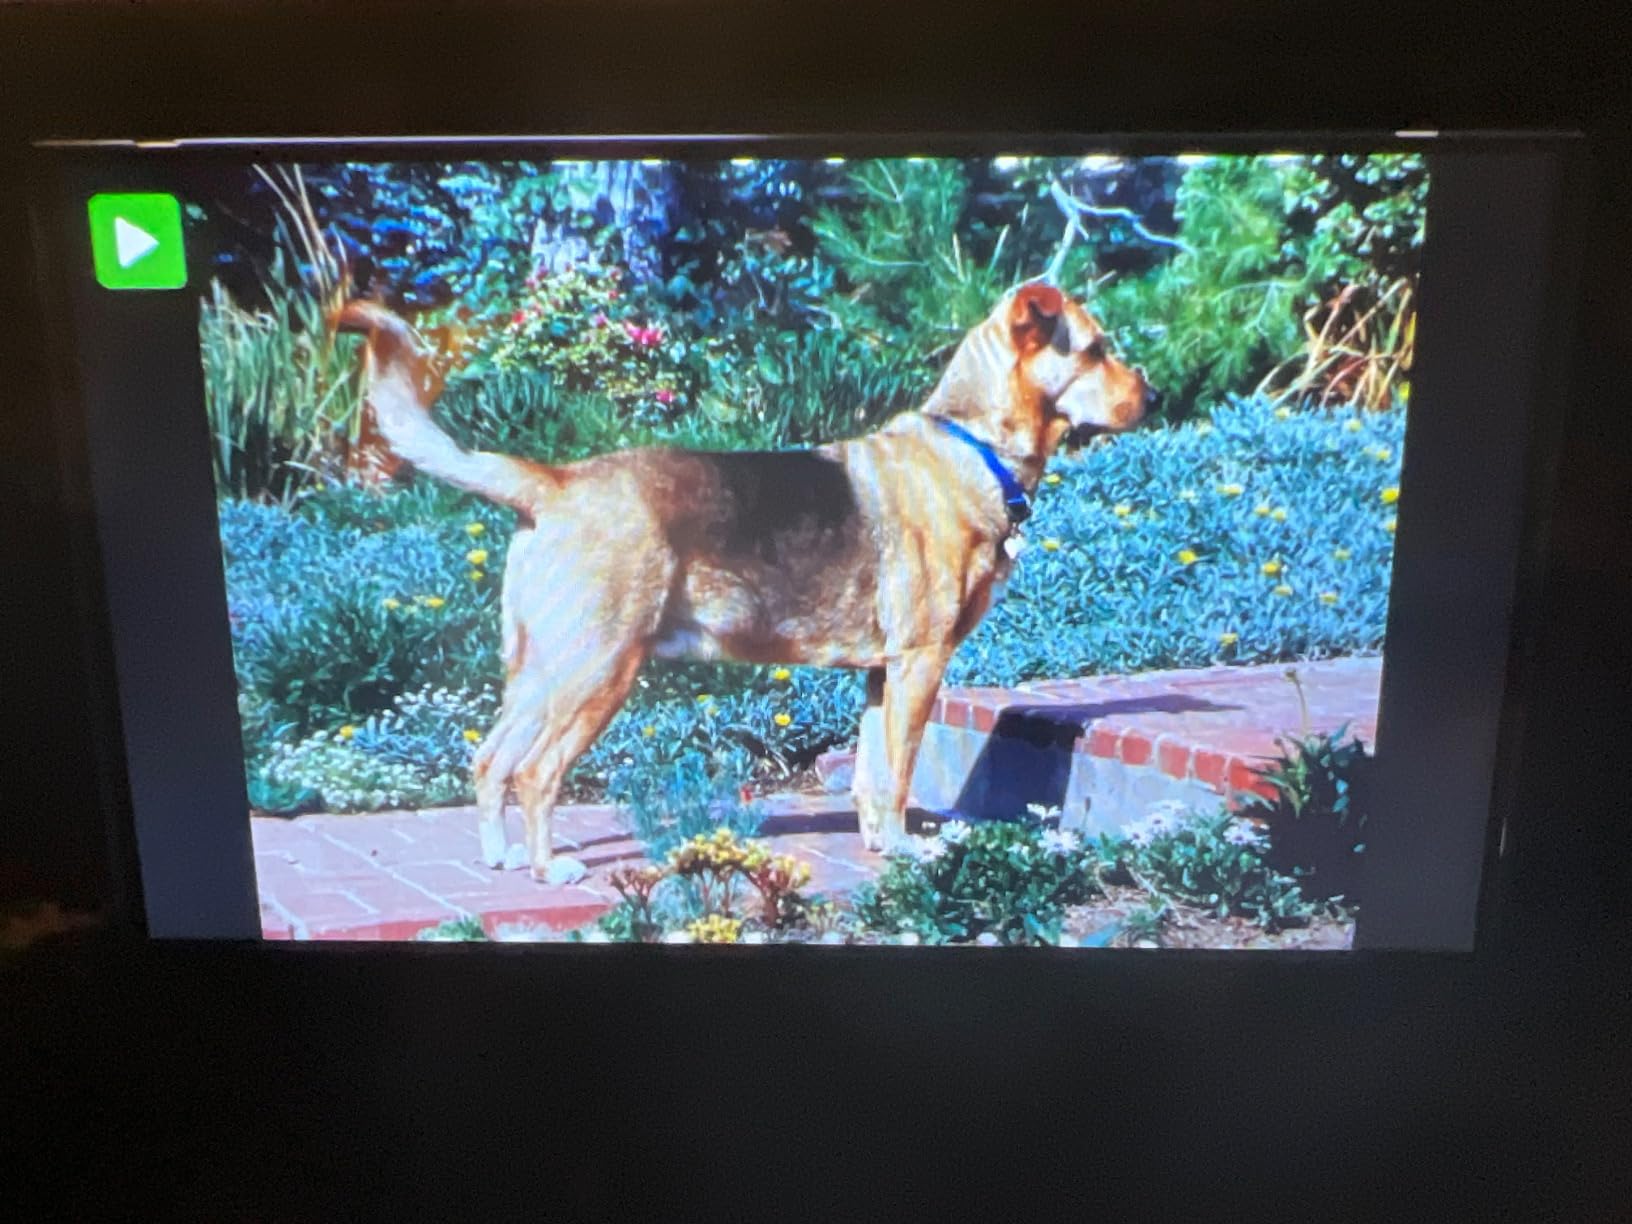
HDMI playback turned into the feature that wins over family members. Plugging it into a television and scrolling through a newly scanned family archive is a far better way to recruit help with the remaining boxes than explaining the project in advance.
The output resolution is the honest caveat here. One reviewer worked out that a slide enlarged to 4×6 inches would be about 75 DPI, which tells you plainly that this is a sharing and backup machine rather than a print-production tool.
Is it the right budget choice?
Yes, for a first pass at a family collection, and yes if the goal is a backed-up digital copy of everything before anything else happens to the originals. At this level of cost, starting sooner beats waiting for a better machine that arrives in six months.
Reviewers also praise the speed and the colour results on negatives three or four decades old, which is exactly the population most people are digitising.
Where the mechanics get in the way
The criticisms here are mechanical rather than electronic. The viewing screen sits at an awkward angle so the box wants tipping upright, the sled fit is loose enough that misalignment and film slippage happen, and starting the film straps takes practice.
Budget extra attention for your first session. Clean the glass, take your time, and expect a short learning curve before the rhythm settles in.
6. ClearClick QuickConvert 2.0 – slides, negatives and loose prints
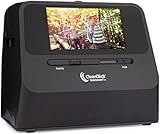
ClearClick QuickConvert 2.0 Photo, Slide, and Negative Scanner – Scan 4×6 Photos & 35mm, 110, 126 Film – No Computer Required – 22 MegaPixels
14MP native and 22MP interpolated
Scans 4x6 prints plus film
2 to 3 seconds per frame
2.4 pounds
Pros
- Scans 4x6 prints straight out of albums and mounts
- Built-in rechargeable battery for cord-free use
- One size button simplifies framing
- No computer or drivers required at all
- 2-year warranty with US-based tech support
Cons
- No autofeed so every item is scanned individually
- 22MP is interpolated from 14MP native
- Does not support 5x7 prints
- Cordless use needs recharging between long sessions
The ClearClick QuickConvert 2.0 also scans 4×6 paper prints without pulling them out of their albums or mounts, which is the scenario most families actually face, and no other unit in this roundup does it.
For a family that has both a slide box and a shoebox of prints, owning one machine instead of two is a genuine saving in effort and in shelf space. At 2.4 pounds and 8 by 7 by 6 inches it is also physically substantial, so give it a permanent home rather than a laptop shelf.
The rechargeable battery is the detail I did not expect to care about. Being able to carry it to a different room, work through a box while the originals stay where they are, removes an entire category of friction from a long session.
Capture takes 2 to 3 seconds per frame with a single size button for framing, and there is no computer, no driver and no editing software anywhere in the process. The 2-year warranty with US-based support is also stronger than most in this price band.
Does it suit a mixed collection?
Yes, and the print capability is what sets it apart. Scanning prints without removing them from albums protects fragile paper, which addresses the fear that forum owners raise repeatedly about feeding old photographs through anything mechanical.
For mixed media, it converts each photo, slide or negative to JPEG in 2 to 3 seconds and keeps the workflow identical across all three media types. That consistency is what makes it easy to hand to a relative.
What are the compromises?
There is no autofeed, so every item is placed and captured one at a time. That is fine for a few hundred prints and tedious for a few thousand, and no amount of speed compensates for it.
Note also that 5×7 prints are not supported, only 4×6 and smaller, and the 22 megapixel figure is interpolated from 14 megapixels native. If your prints are large-format or your film is rare, you are still looking at a sharing-quality result.
7. Plustek OpticFilm 8200i SE – true 7200 dpi optical film scanning
Plustek OpticFilm 8200i SE , 35mm Film & Slide Scanner. 7200 dpi / 48-bit Output. Integrated Infrared Dust/Scratch Removal. Bundle Silverfast SE Plus 9 , Support Mac and PC.
7200 x 7200 dpi optical
48-bit input with multi-exposure
Infrared dust removal
SilverFast SE Plus bundled
Pros
- Only true 7200 dpi optical film scanning in this group
- Infrared channel removes dust and scratches automatically
- Multi-exposure recovers detail in highlights and shadows
- Many owners report it beats a camera with a macro lens
- Small footprint and quiet operation
Cons
- Very slow at full resolution around 2h45m per 24-exposure roll
- Bundled SilverFast is difficult and often gets replaced with VueScan
- Manual film advance in carriers and the latch can be stiff
- Dynamic range is adequate rather than exceptional
Everything else on this list captures an illuminated slide with a small sensor. The OpticFilm 8200i SE actually scans the film optically at 7200 by 7200 dpi, which is 69 megapixels of real detail, with 48-bit input and 24 or 48-bit output. For rare negatives, that difference is not subtle.
The built-in infrared channel is the feature owners praise most. It detects dust and scratches and removes them during the scan without retouching, and it turns genuinely filthy 1980s slides into clean files. One owner reported the result beating a 25 megapixel camera with a macro lens in a direct test.
Multi-exposure takes two or more readings across different exposures and merges them, giving up to 3.6 dynamic range and recovering detail in both highlights and shadows. It is the reason this scanner can handle a slide with a blown window and a dark interior in the same frame.
It is also a tethered machine with a computer connection, and the bundle includes Plustek QuickScan and LaserSoft Imaging SilverFast SE Plus. It supports Windows 7 through 11 and Mac OS 10.7 to 14.x, which covers essentially any computer you own today.

Is it worth it for a few hundred slides?
Probably not, and this is where the scepticism on scanning forums is fair. A Photrio owner with a high-end flatbed scanner described buying that way as overkill but still the right call, and the same logic applies here. Optical film scanning rewards collections that are large or genuinely rare.
For a couple of hundred slides that will never be printed larger than 5×7, a 22 megapixel standalone captures everything you will actually see. For a thousand slides, or for negatives where the original cannot be replaced, the infrared channel and the real optical resolution justify the slower pace.
How slow is slow, really?
Owners report roughly 2 hours 45 minutes for a 24-exposure roll at full resolution, and close to 4 hours for a 36-exposure roll. That is a genuine weekend commitment, and there is no motorised transport to soften it, so film advances manually in carriers.
The software is the other friction. SilverFast SE Plus is widely criticised as daunting and poorly documented, with some owners unable to install or run it, and many switching to VueScan instead. Budget time to sort that out before you start, and check that the licence arrangement suits a single machine.
8. DigitConvert 22MP – the longest warranty in the group
Slide & Negative Film Scanner, Converts 35mm Slides to Digital JPEG Photos
22 megapixel output
5-inch wide-angle LCD
One-touch capture
36-month warranty
Pros
- Highest average rating in the group at 4.4 out of 5
- One-touch scanning with no computer program needed
- Gallery mode turns the LCD into a desktop photo frame
- Complete kit with cables and five film adapters
- 36-month warranty is the longest here
Cons
- Smallest review base in the group at 219 ratings
- Must stay plugged into mains power during use
- SD card not included
- Real-world longevity is unproven so far
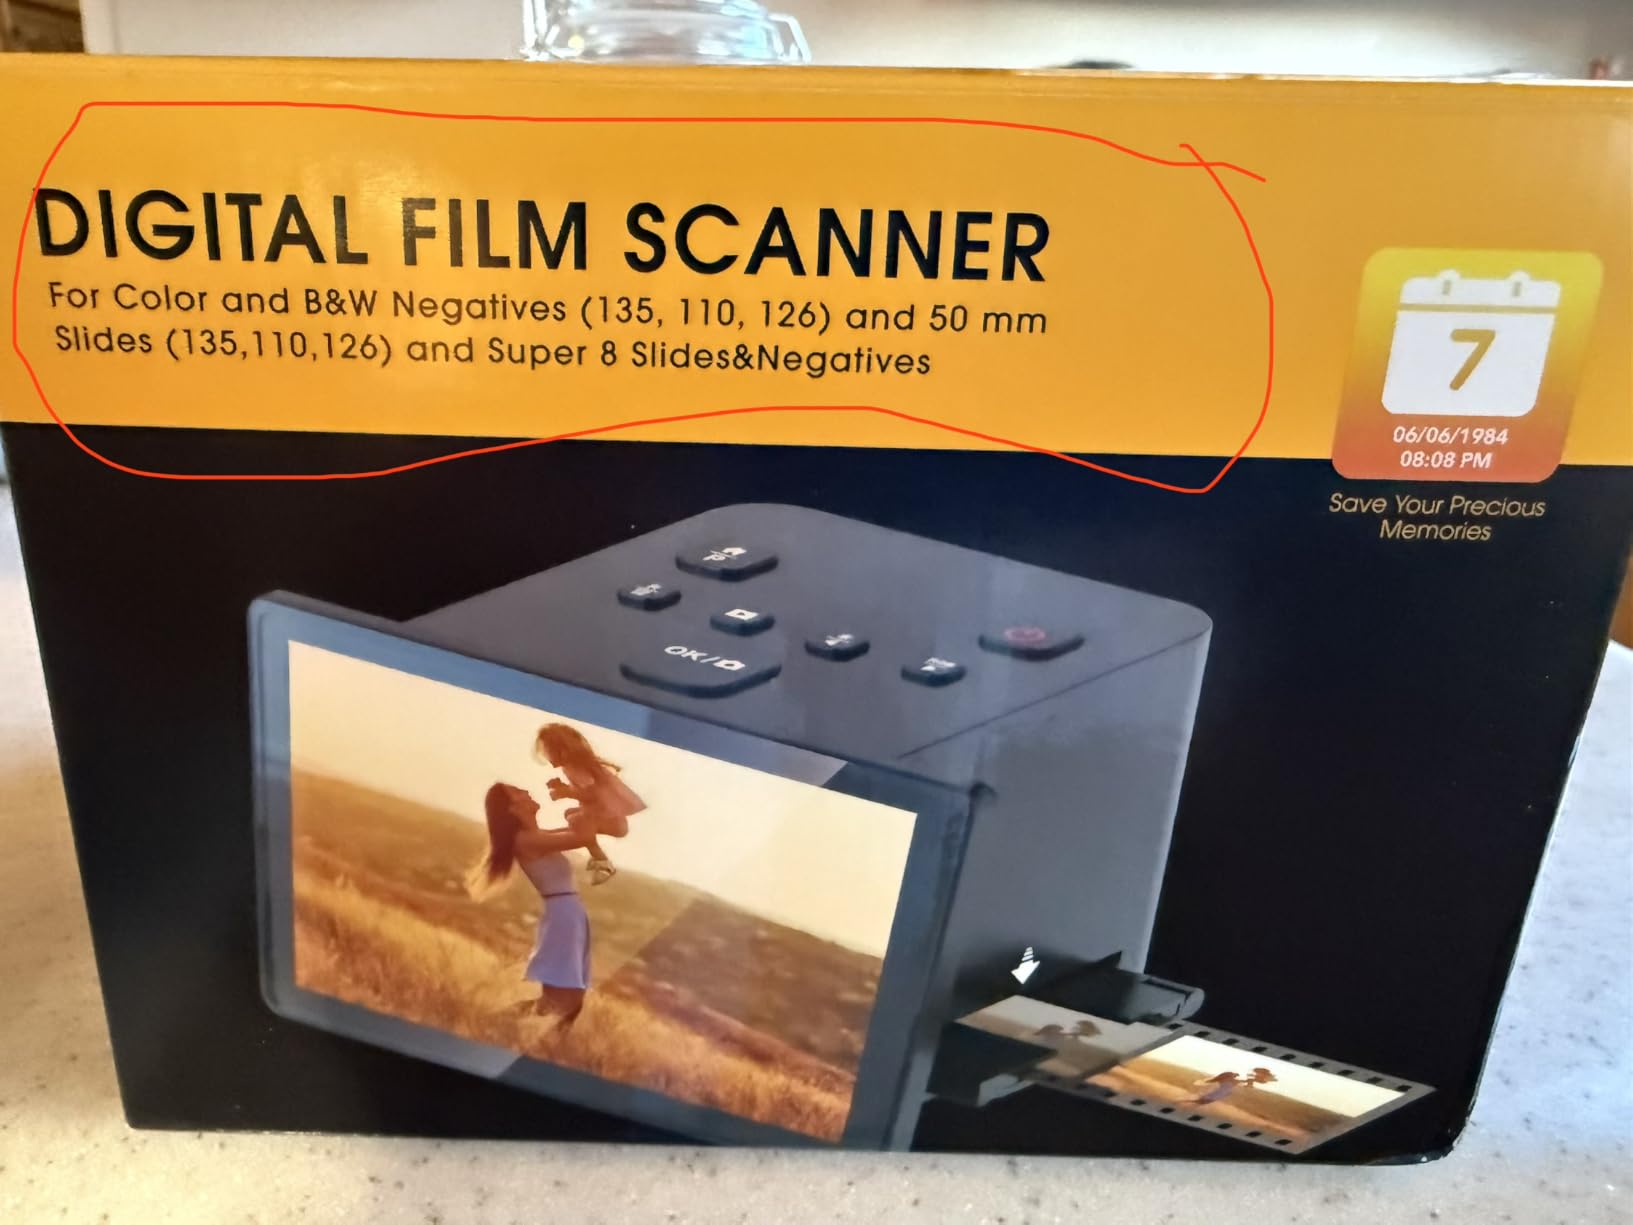
The DigitConvert runs on the same proven architecture as the popular KODAK boxes: a 22 megapixel sensor, a 5-inch wide-angle LCD, one-touch JPEG capture with on-board film type, colour and brightness controls, and a gallery mode that turns the screen into a desktop frame. It is a newer entrant, and the additions are practical rather than flashy.
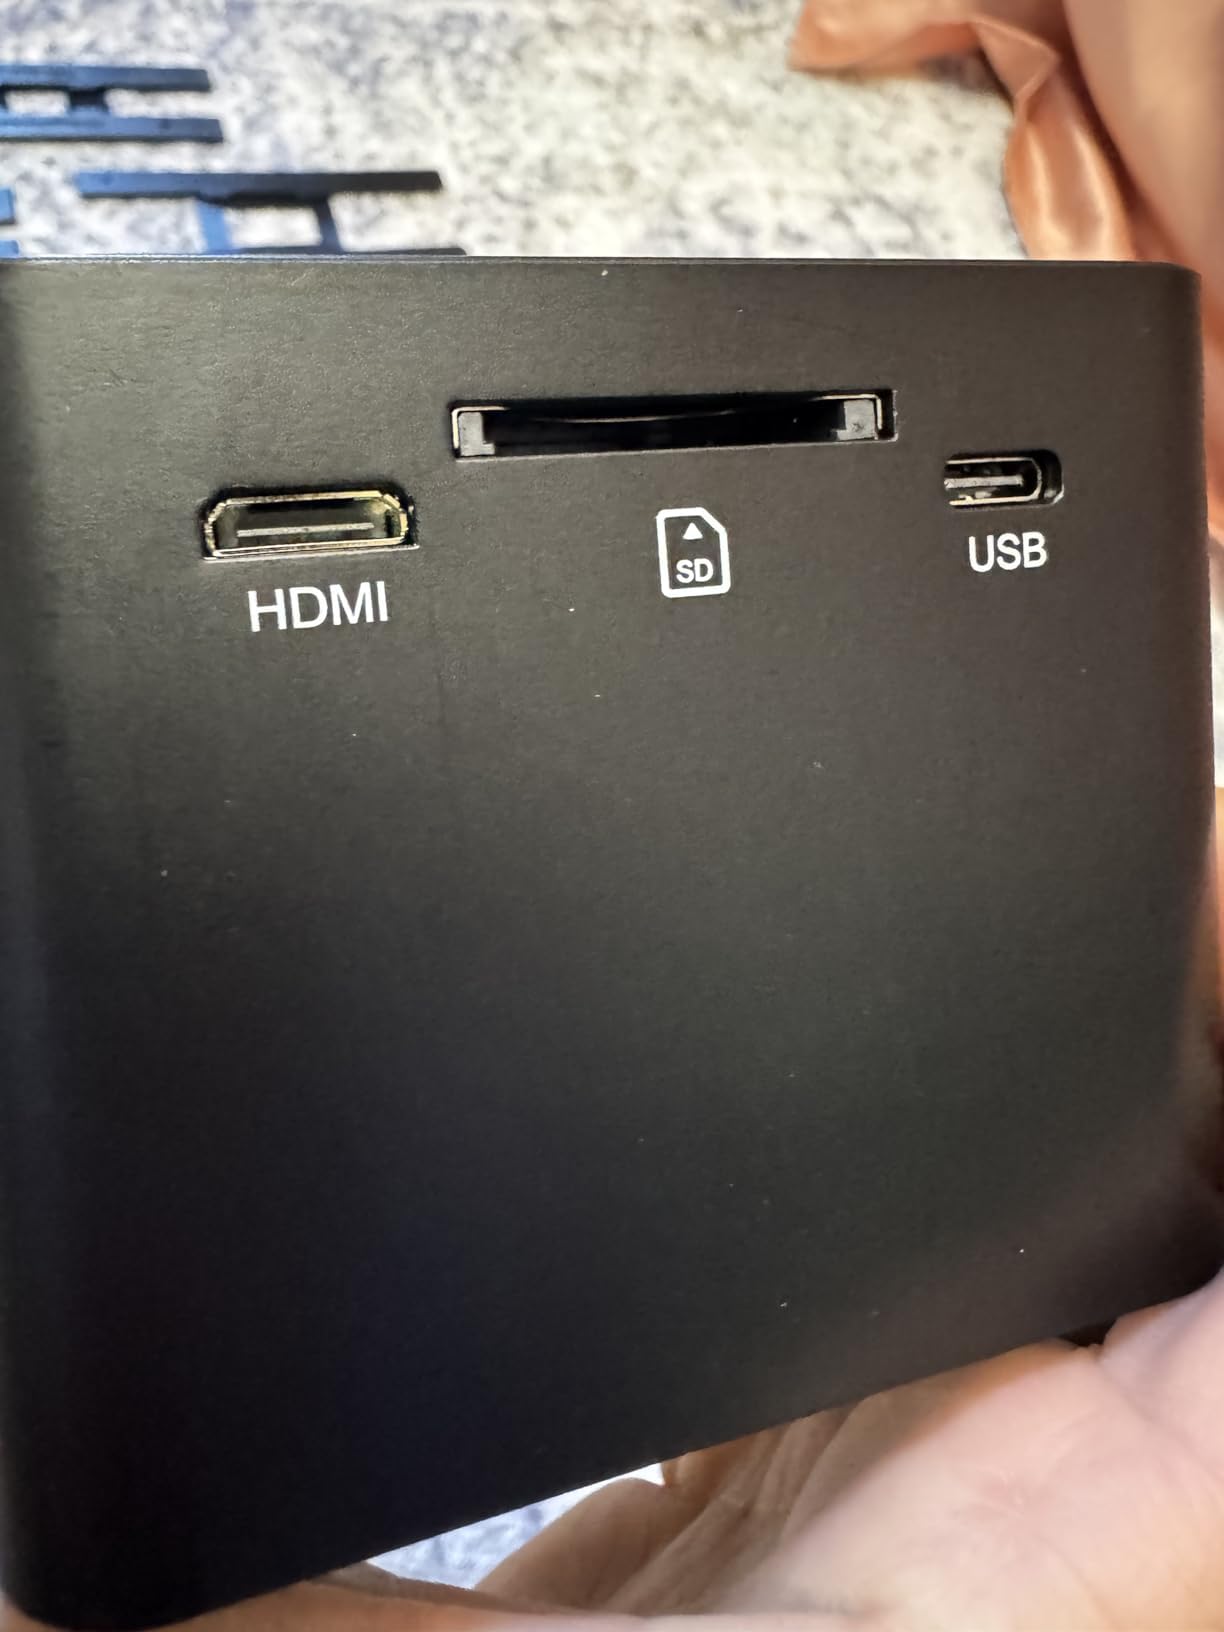
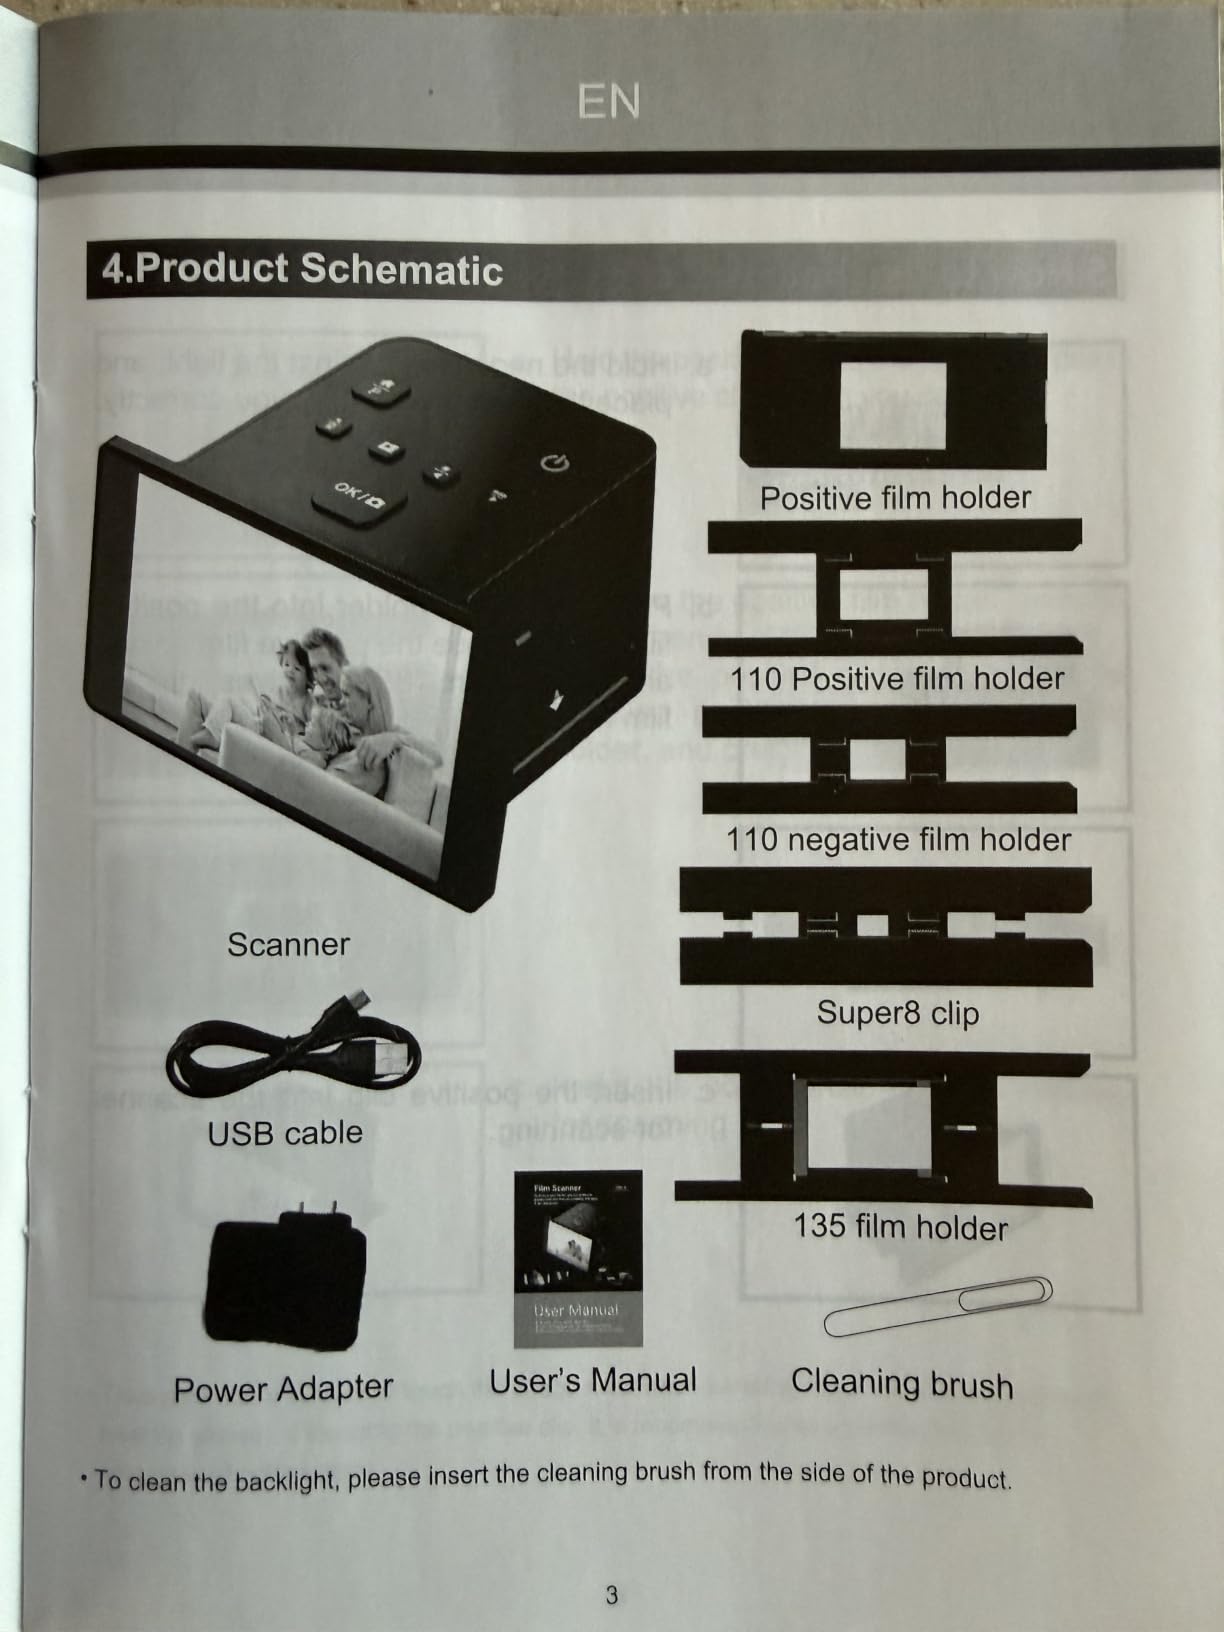
It converts 135 and 110mm negatives plus 135, 110 and 126mm and Super 8 slides. The bundle includes a power adapter, cleaning brush, user manual, five dedicated film adapters, an HDMI cable for TV slide shows and Type-C USB for PC and Mac export.
The rating distribution backs up what the specification sheet suggests: 68% of its ratings are five stars, the strongest share in this roundup. Owners who have used it consistently report that the wider viewing angle and the gallery mode are what they mention first.
SD card support runs to 64GB in FAT32 or EXFAT. Date and time stamps can be burned into the capture, which is a small thing that saves a lot of manual renaming if your scans are going into a dated archive structure.
Is a new brand a safe bet?
It is a reasonable one, because the underlying design is well-trodden and the 36-month warranty is the longest in the group at roughly three years. Two years beyond the typical cover on this class of machine is meaningful if you plan to keep scanning for a while.
The honest caution is the review history. With 219 ratings it has the thinnest evidence base here, so the excellent current rating is not yet backed by years of owners reporting long-term reliability.
What should you keep in mind?
It must remain plugged into mains power during use, so unlike the rechargeable ClearClick it is not portable in any meaningful sense. That is fine on a desk and inconvenient anywhere else.
Treat the 4.4 rating as promising rather than proven, and buy an SD card with it. For a first family archive, the specification set and the warranty make it a well-supported choice.
How to choose a slide scanner in 2026
Start with the media, not the specification sheet. Write down what you actually have: mounted 35mm slides, unmounted 35mm negatives, 126 or 110 formats, home movie film, or paper prints. Every recommendation below follows from that list, and buying before counting originals is the most common way to end up with a machine that handles half the box.
Next, understand the terms you will meet. Optical resolution is the real detail the sensor captures. Interpolated resolution is the manufacturer filling in the gaps, and a 22 megapixel interpolated figure is far closer to 14 megapixels of real detail. Dmax describes how much density range the scanner can record, which matters for thick, dark negatives. Newton rings are interference patterns that appear when film sits too close to flat scanner glass, so anti-Newton ring glass and a proper carrier matter. Infrared dust removal is a separate channel that finds dust and scratches, but it does not work on silver halide black and white film.
Then consider colour depth. Every standalone box on this list is 24-bit, which is entirely adequate for prints up to about 8×10 inches. The Plustek OpticFilm 8200i SE is the one that moves to 48-bit input, and that is where it shows in shadow detail and smoother gradients.
Match the handling to the originals. Sheet feeders are fast for clean modern prints and dangerous for brittle or curling ones, so if your paper is fragile, flatbed or single-item capture is the safer choice. Cardboard slide mounts from the 1960s and 1970s can be brittle; support them from the edges, and never force a cracked mount into a carrier.
Finally, be honest about volume. A few hundred slides can be handled by any machine here. A thousand-plus, or negatives you would mourn losing, is where optical film scanning and infrared cleaning start to earn their cost. Below that, the standalone boxes at 22 megapixels are the smarter purchase in 2026.
How to scan a box of old slides step by step
Work in this order and you will avoid the two mistakes that damage originals: touching the emulsion and running out of storage halfway through.
Clean first. Blow dust off the scanner glass and the film holders before anything goes near them. A fingerprint or hair on a scan cannot be undone.
Handle by the edges. Hold mounted slides and negatives by the cardboard or plastic frame only, and support brittle cardboard mounts from underneath with both hands.
Load the correct holder. Use the film insert matched to your format. Forcing a 126 or 110 frame into a 35mm holder causes misalignment and uneven scans.
Set the film type before scanning. Several models in this roundup reset that setting on every power cycle, so confirm it each session or your negatives will scan with the wrong profile.
Scan at the format’s own resolution. A 35mm frame carries far less than 7200 dpi of detail, so choose the setting that matches the original rather than the largest number offered.
Preview the first frame. Check the crop, the exposure and the colour before committing to a full run. This is where you catch an orange or magenta cast while it costs one slide to fix.
Back up as you go. Empty the card to two destinations after each session and keep an untouched master copy in 48-bit TIFF where the device allows it.
On colour casts specifically: an orange or magenta tint on negatives almost always means the wrong film type was selected, or the base tint was not neutralised in software. Correct the film type first, then adjust the tint control only if a cast remains.
Frequently Asked Questions
What is the best way to scan old slides?
The best way is a stand-alone film scanner that needs no computer, loaded with the correct film holder for your format. Clean the glass, set the film type, preview one frame to confirm the crop and colour, then scan in batches and back the card up after each session. A dedicated optical film scanner gives better results, but only pays for itself on large or rare collections.
What kind of scanner can scan slides?
Only a scanner with a transparency unit in its lid, or a dedicated film chamber, can scan slides. Slides and negatives are transparent film, so light must pass through the frame from below while a sensor captures it, and software then inverts the image. Most document and sheet-fed scanners sold as photo scanners have a solid white platen and cannot scan film at all.
Do photo scanners work for slides and negatives?
They do, but only the models built with a transparency unit or film chamber. Check the specification list for a TMA, transparency unit or dedicated film chamber before buying, since plenty of devices labelled photo scanners handle paper prints only. The scanners in this roundup all scan 35mm, 110 and 126 negatives plus 50mm slides as standard.
What is the best photo scan app for slides?
Phone apps are genuinely useful for a quick copy of a handful of slides, or for checking framing before you scan properly. They are not an archive solution: results depend on your phone camera, lighting is uneven, and there is no way to correct a film profile. For anything you want to keep, use a real film scanner and treat the app as a preview tool.
The verdict: which slide scanner is right for your box
For most people, the best photo scanners for old slides come down to one honest question: what is in the box? If it is mounted 35mm slides and unmounted negatives and nothing rarer, the KODAK Slide N Scan is the answer I would give anyone, since the two-second frame time and the no-computer workflow clear a large family archive in a weekend.
Add home movie film from a canister and the SCANZA takes over. Hold a large print archive alongside the film and the ClearClick QuickConvert 2.0 is the only machine here that does both without a second purchase. Push to a thousand-plus slides or irreplaceable negatives and the Plustek OpticFilm 8200i SE is the only one of the eight with an infrared dust channel and true optical film capture, and the slow pace is the price of that.
Whichever you choose, buy the memory card first and set your backup routine before the first session. An unscanned slide fades quietly every year, and a scanned one on a drive you check twice a year does not.